Guidelines & FREE TEMPLATES
for You Choose Rooms
This guide offers a selection of free floor and wall images that work great in the You Choose templates, together with some VR Interior Design guidelines!
Image Shape
Make sure the image you upload is square. We recommend 1024x1024 pixels.
Know Your Template
Check out the room in advance and try a few test images to see where they get applied, and any areas which are perhaps covered by furniture.
Colours and Patterns
Remember, “less is more”! Choose a muted background for the majority of your slots, in order to make your key images stand out more.
Using too many patterns can be confusing for visitors, cause eye strain, and detract from your brand.
Due to the image rendering capabilities of the hardware, it is important to choose colours that look good in VR. We suggest muted, darker tones. Pure white and pure black should be avoided; instead, go for a very slightly off-white or off-black.
Avoid very narrow/thin lines, as these can cause an effect called “aliasing” and will flicker on screen.
Seamless or “Tileable” images
When you upload an image, it gets “tiled” across the floor or walls i.e. repeated several times. If the image is not fully tileable, this can create ugly seams where the two images meet.
Examples
In order to test whether an image is tileable, open it in your image editor, then scale it to 50% within the canvas. Copy and paste it 3 times, and line them up as shown. If the image is not fully tileable, any seams or joins will be visible.
Example: Non-tileable image
L-R: Square image; Placed in corner of canvas; Repeated, and visible seams because not tileable
Example: Tileable image
This image is also tiled 4 times across the canvas; but there are no seams because it is fully tileable.
There are various tutorials available online for making tileable images.
You Choose Rooms - Hints & Tips
Text
Text does not render well in VR. If you want to include text on your images, make the font as large and bold as possible. It is best to avoid “thin” and “light” fonts.
Here are a couple of interesting articles for anyone interested in learning more:
Tile Maps
Floors
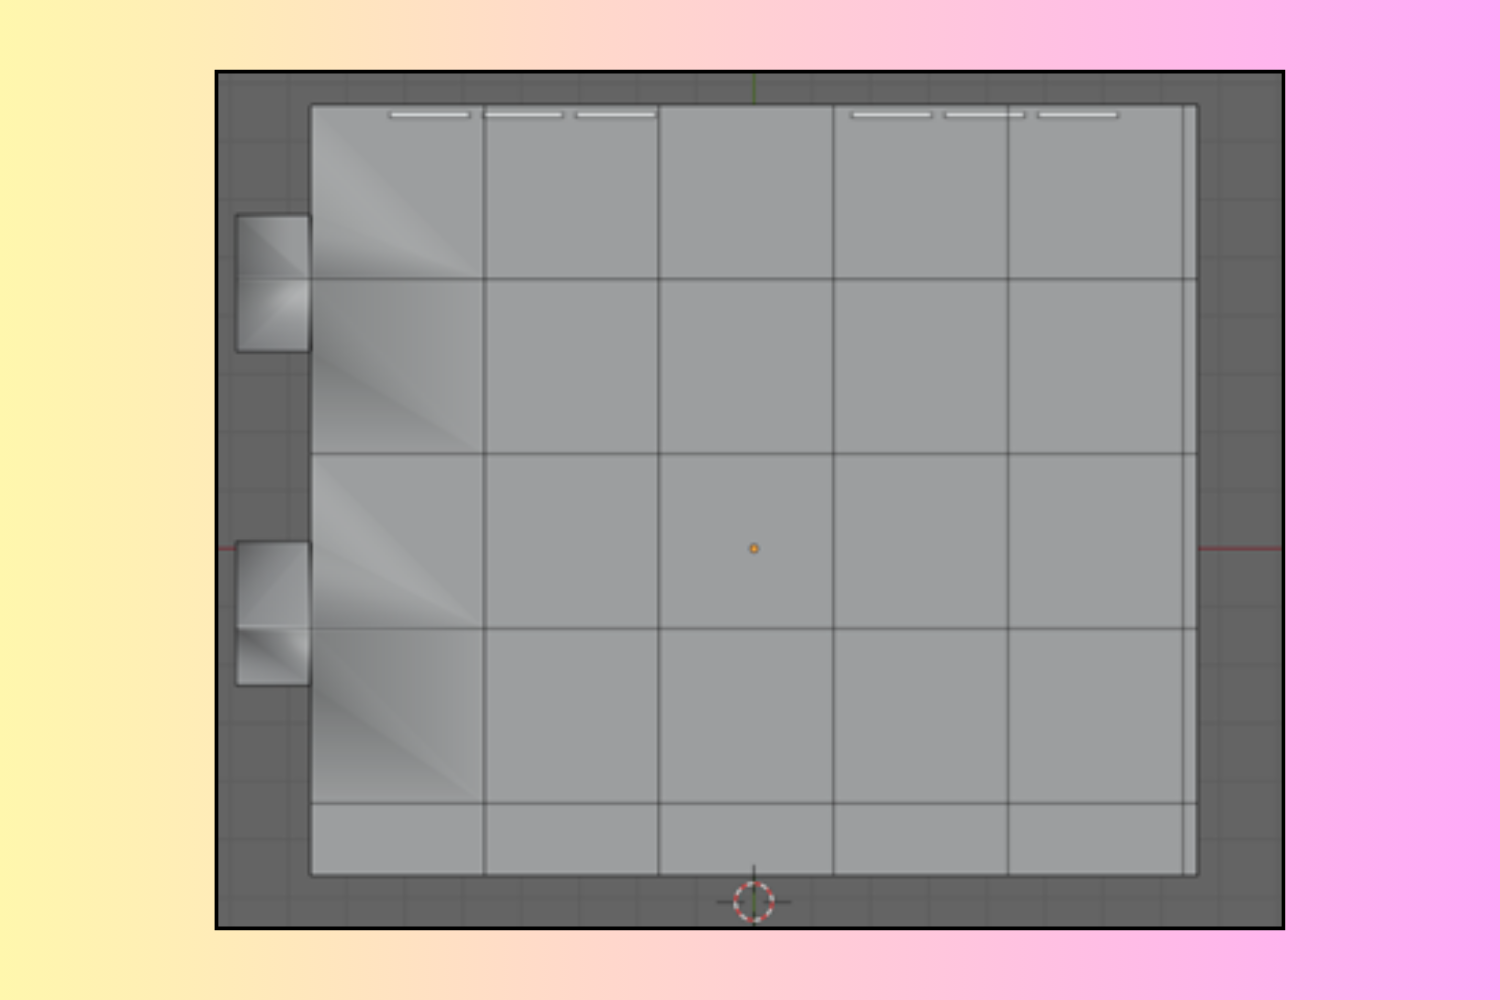
The image you place on the floor will get tiled on all sides. Here is the “map” for a storefront floor:
Top-down view of the Vendor storefront floor. The main door is at the top. Your image will get placed once in each square of the grid.
Walls
Your wall image will get tiled side-by-side around the walls. One image will take up the full height of the wall.
Perspective view of a storefront. Your image will get placed once in each red square around the walls.
Dado/Skirting Rails
Some of the You Choose templates have a dado rail or skirting board running around the room.
Dado rail placement in the Galleria storefront.
When uploading a square image, only a small strip at the base of the image will appear in the room.
When you upload an image for the Dado rail, only a strip along the base of the image will be used.
Free Samples
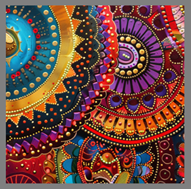
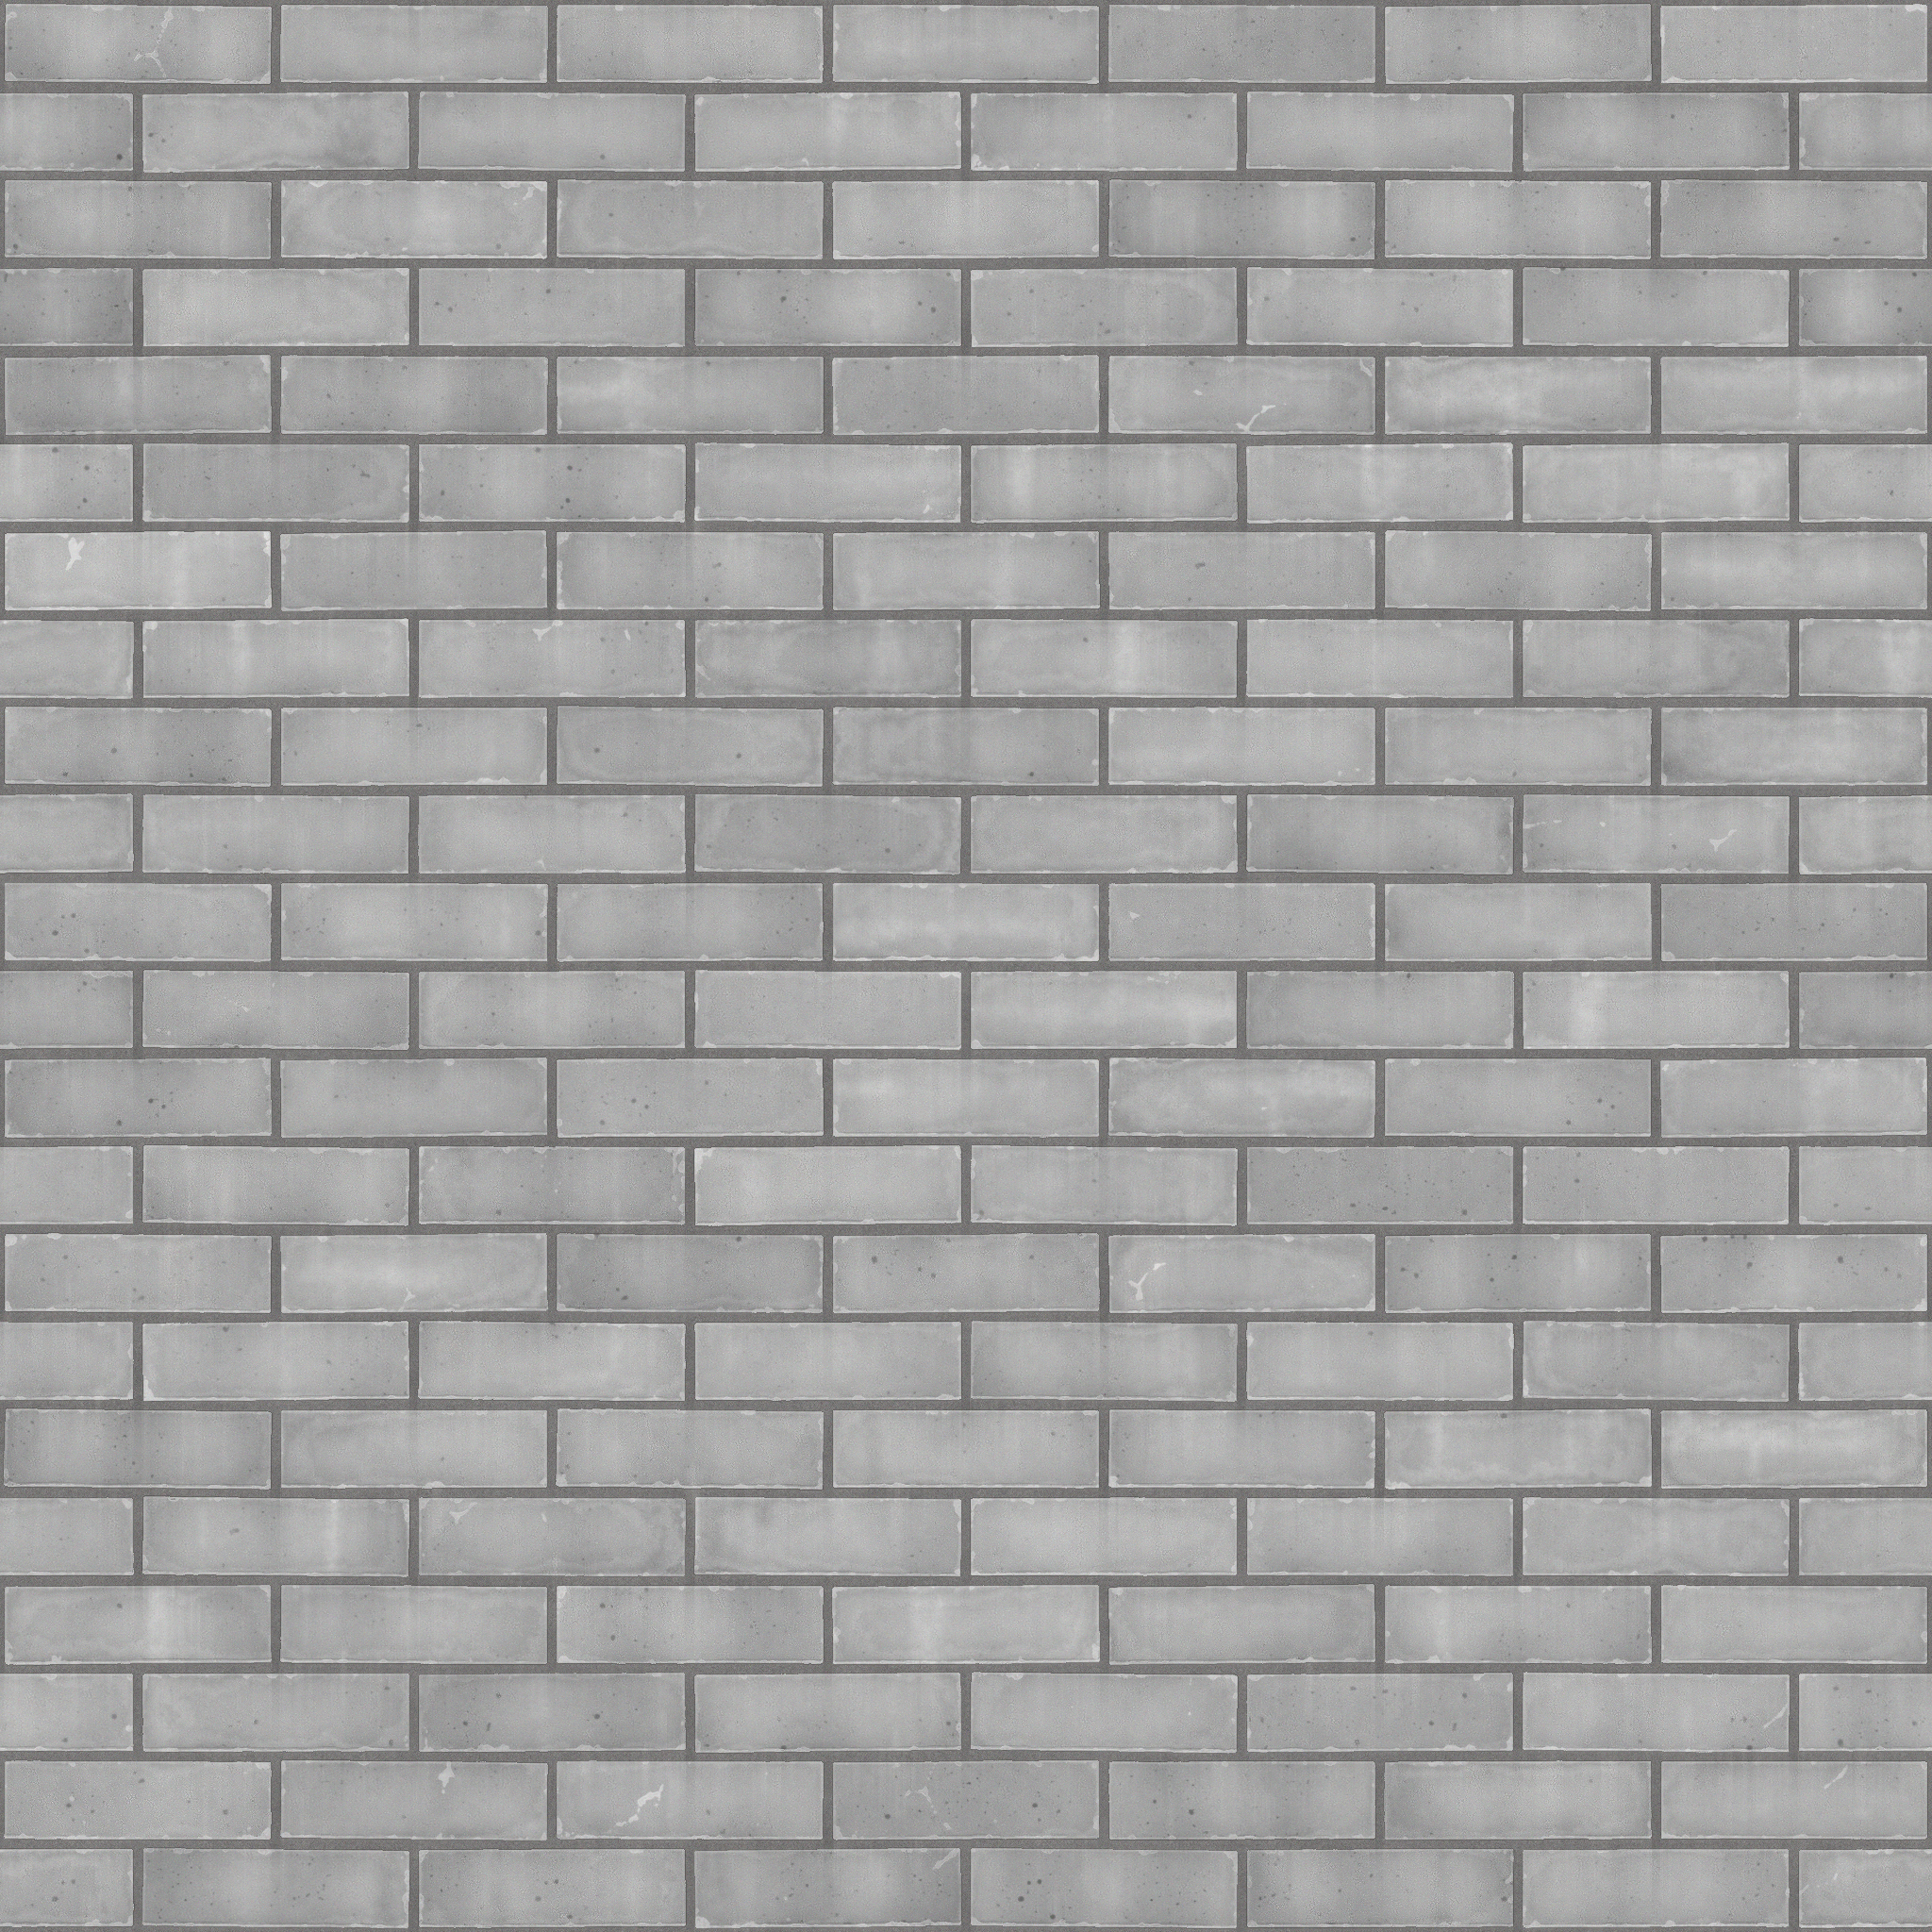
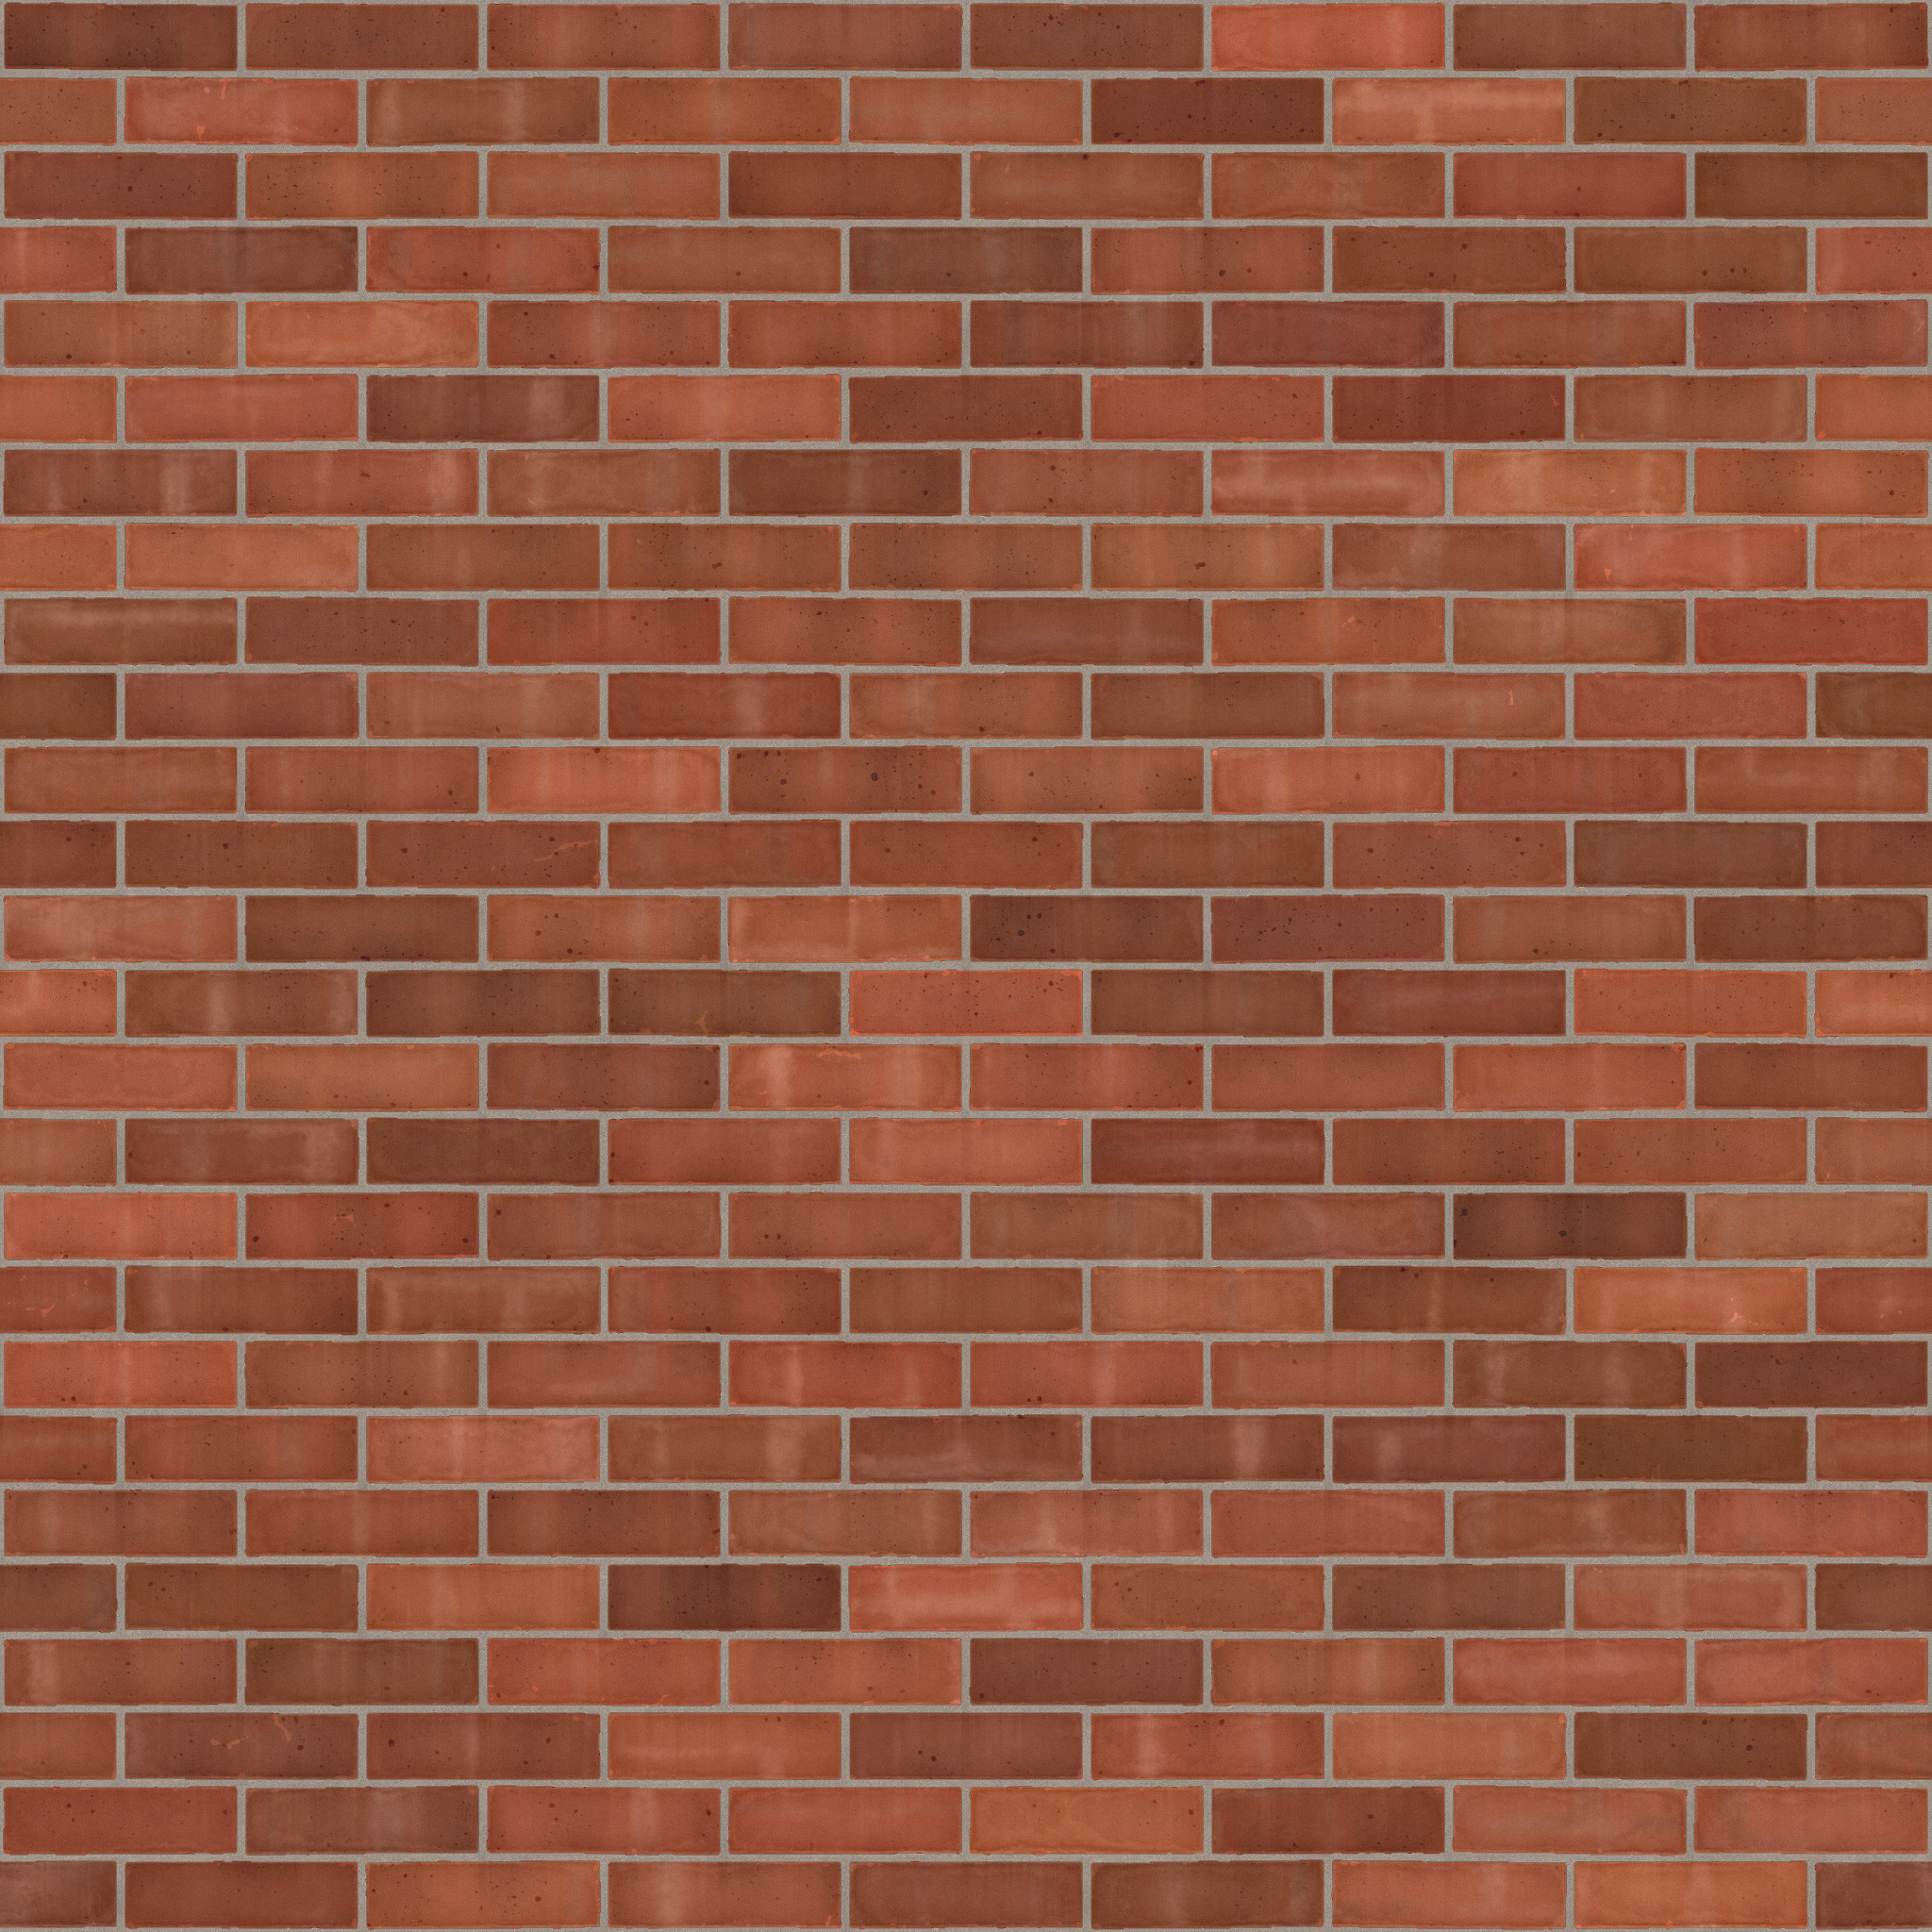
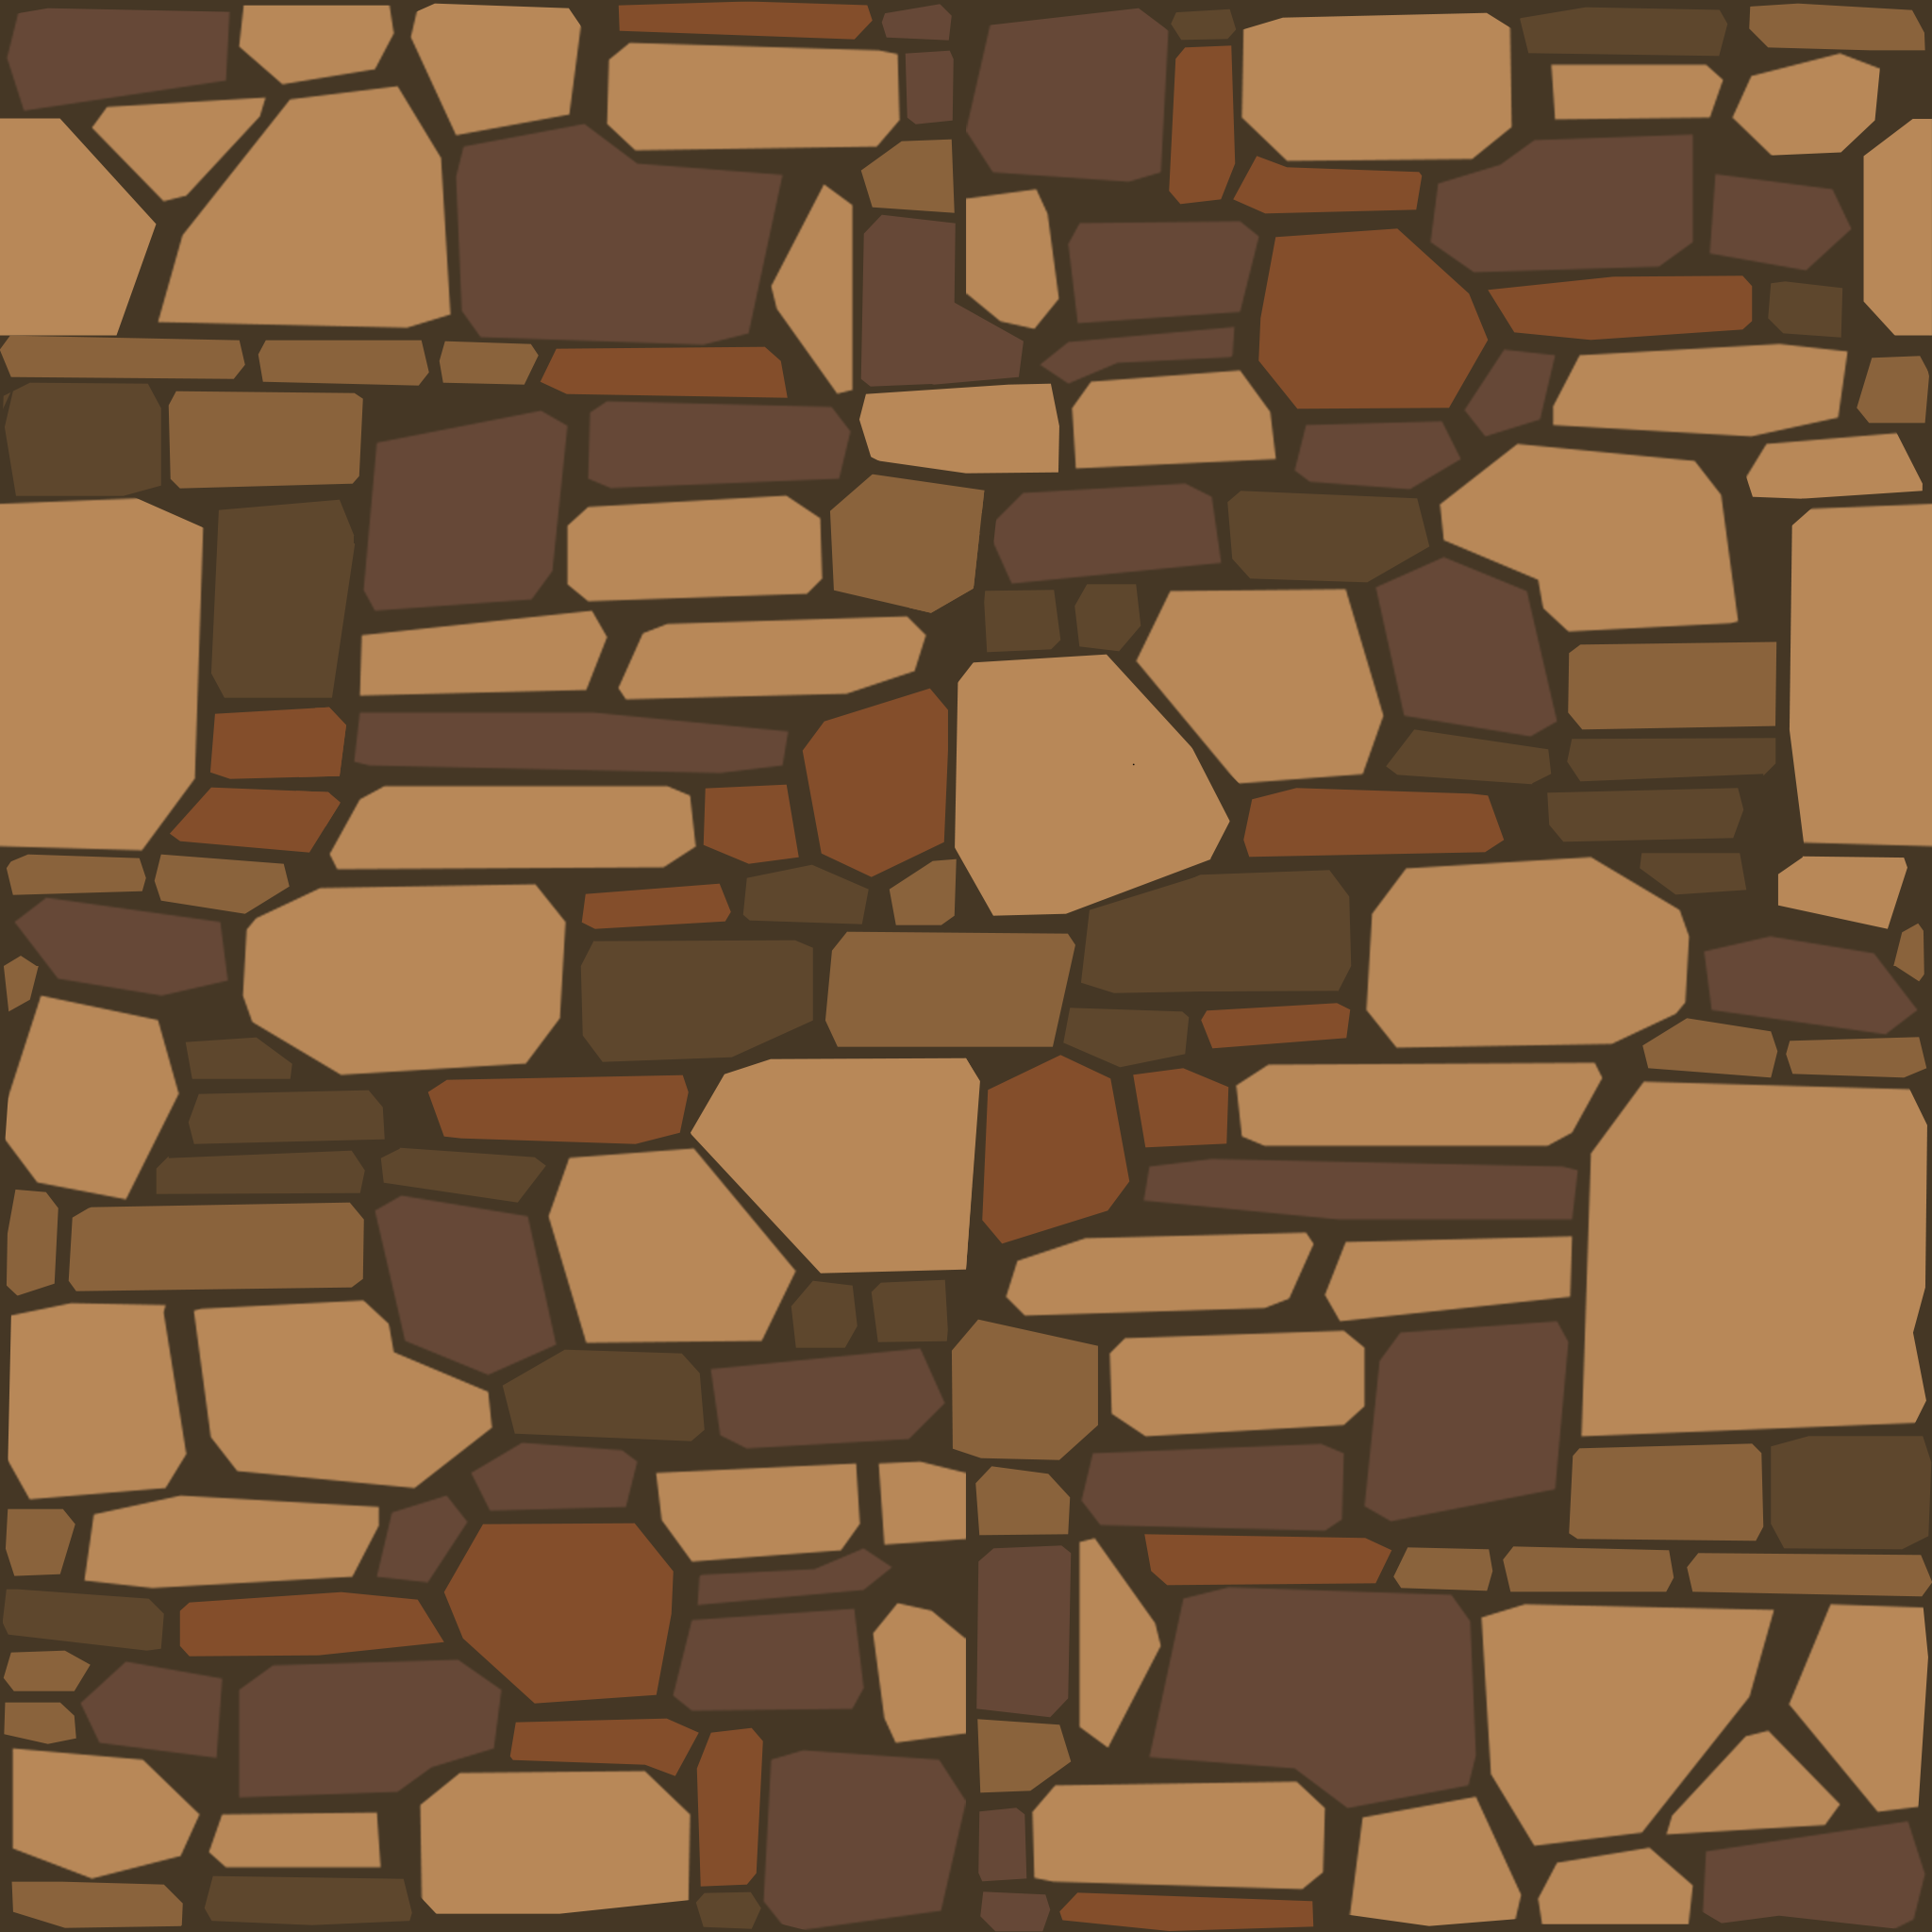
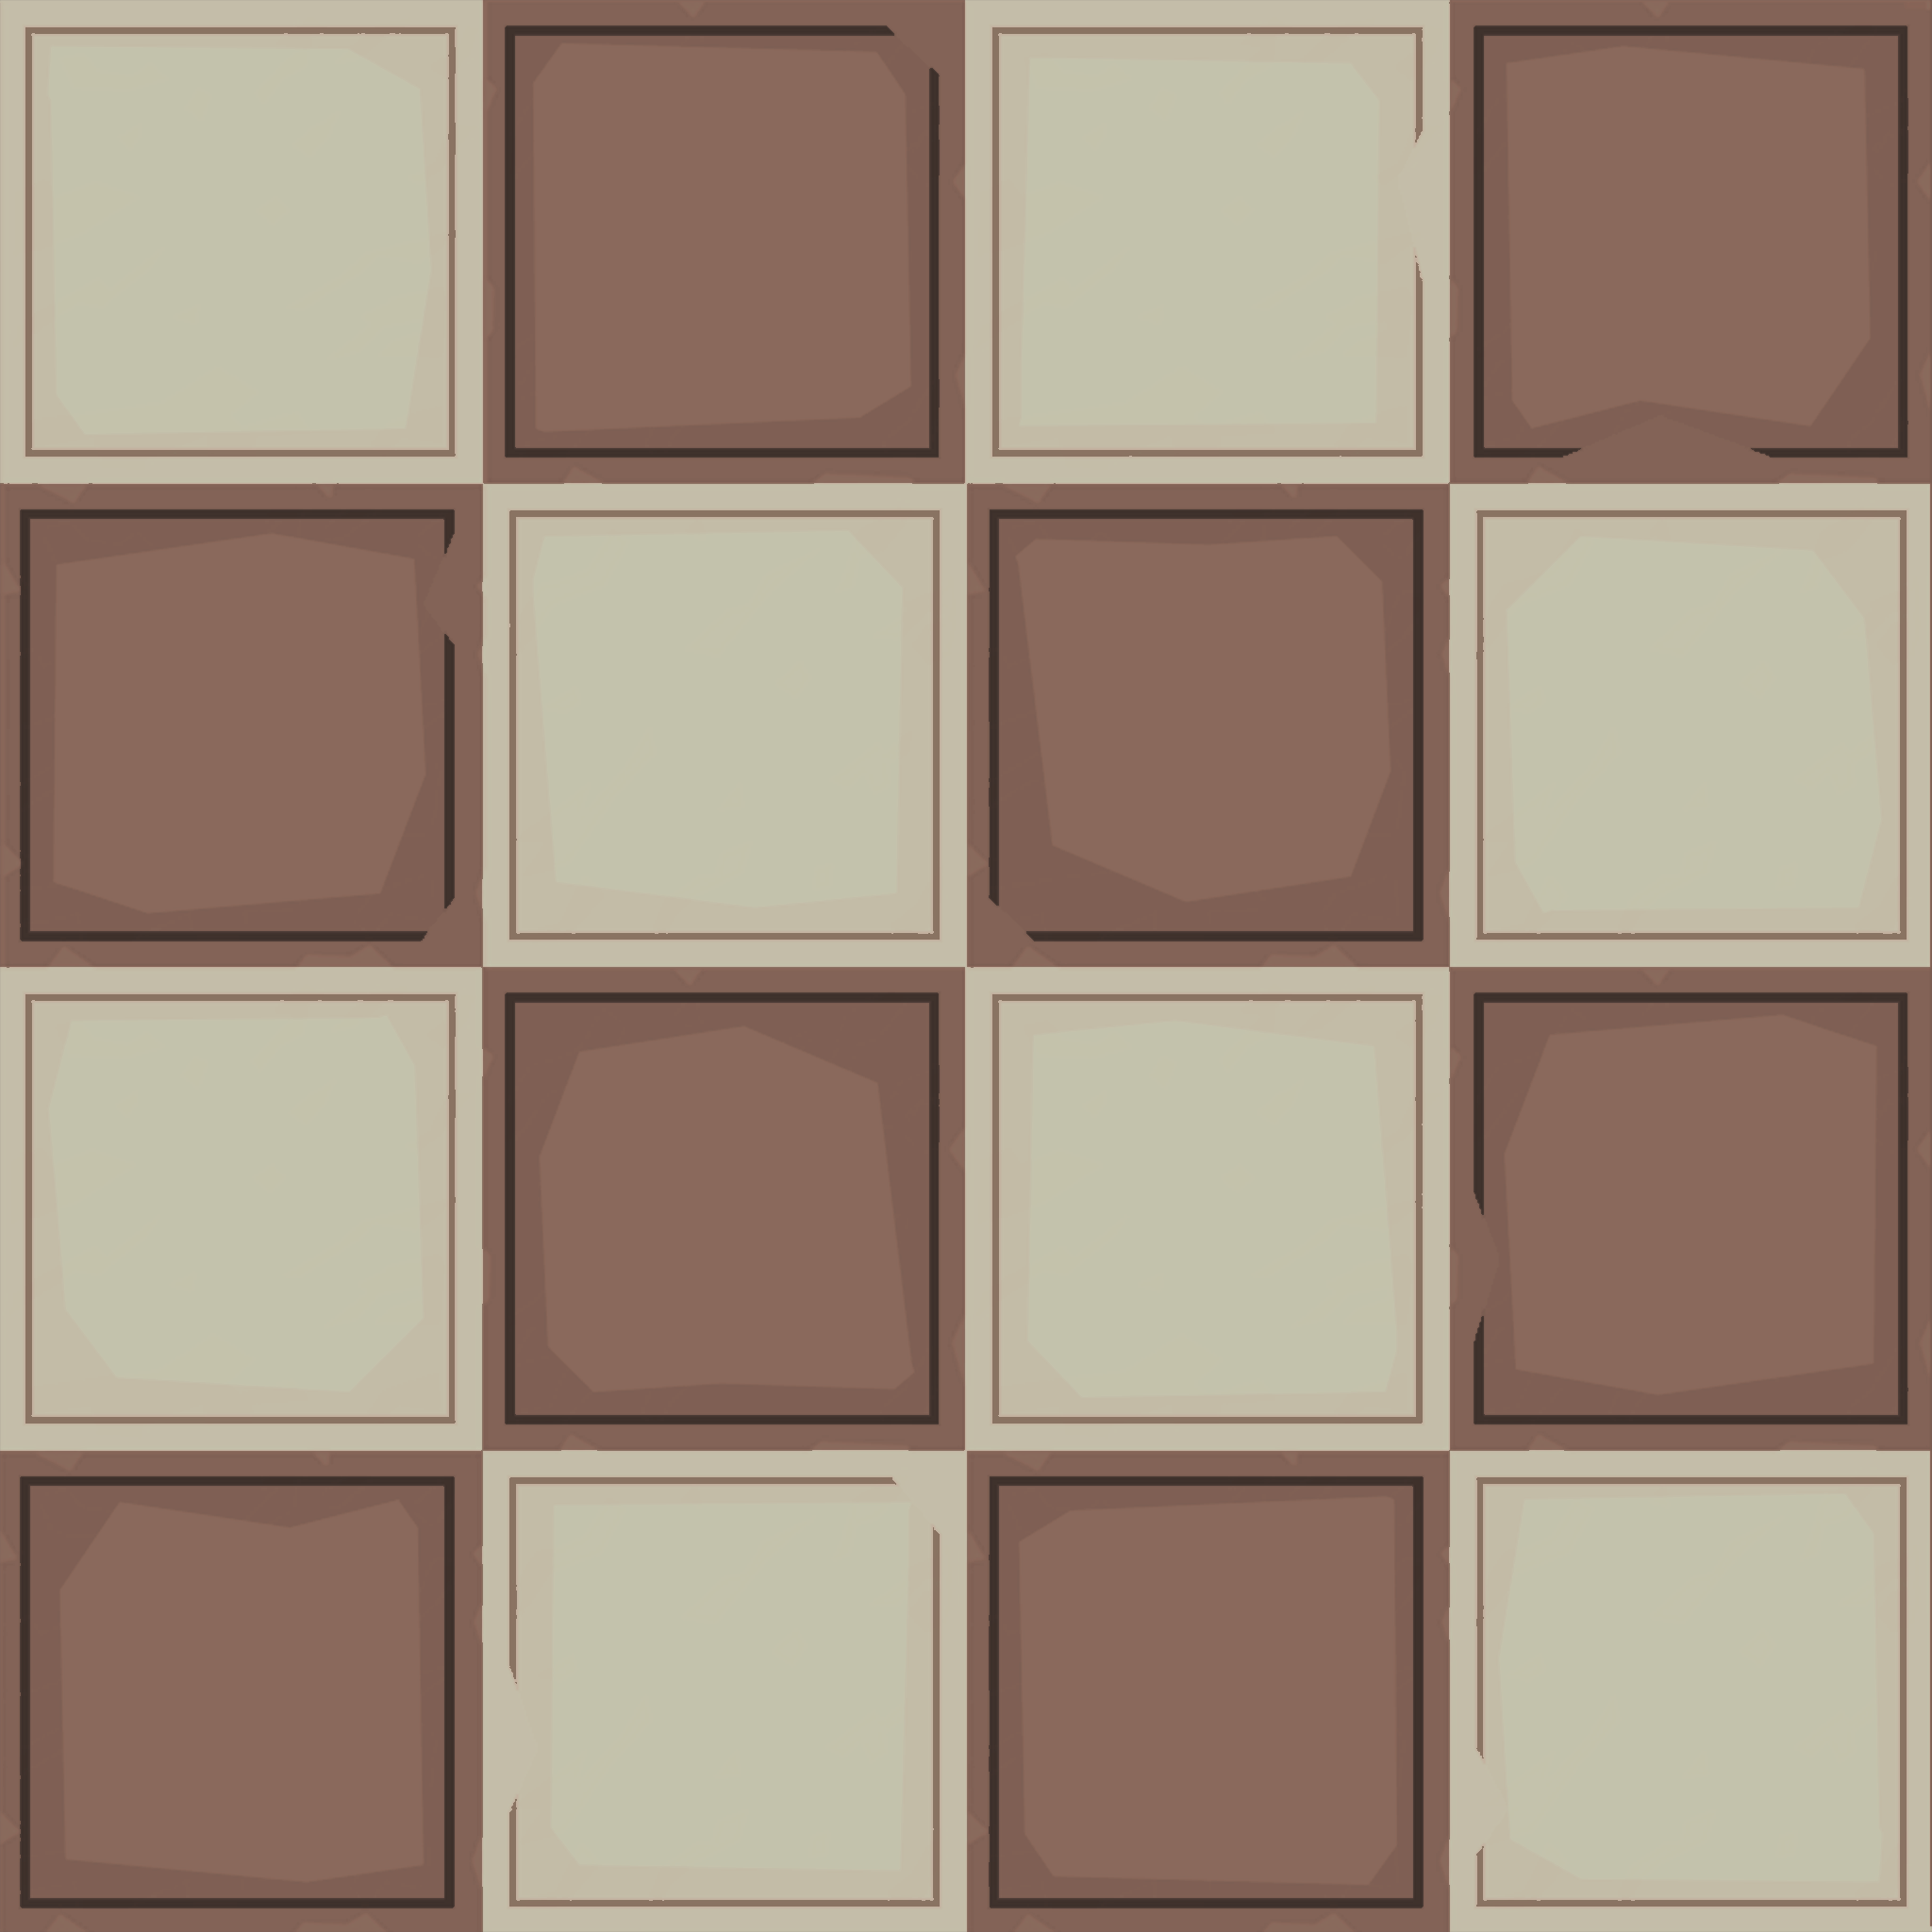
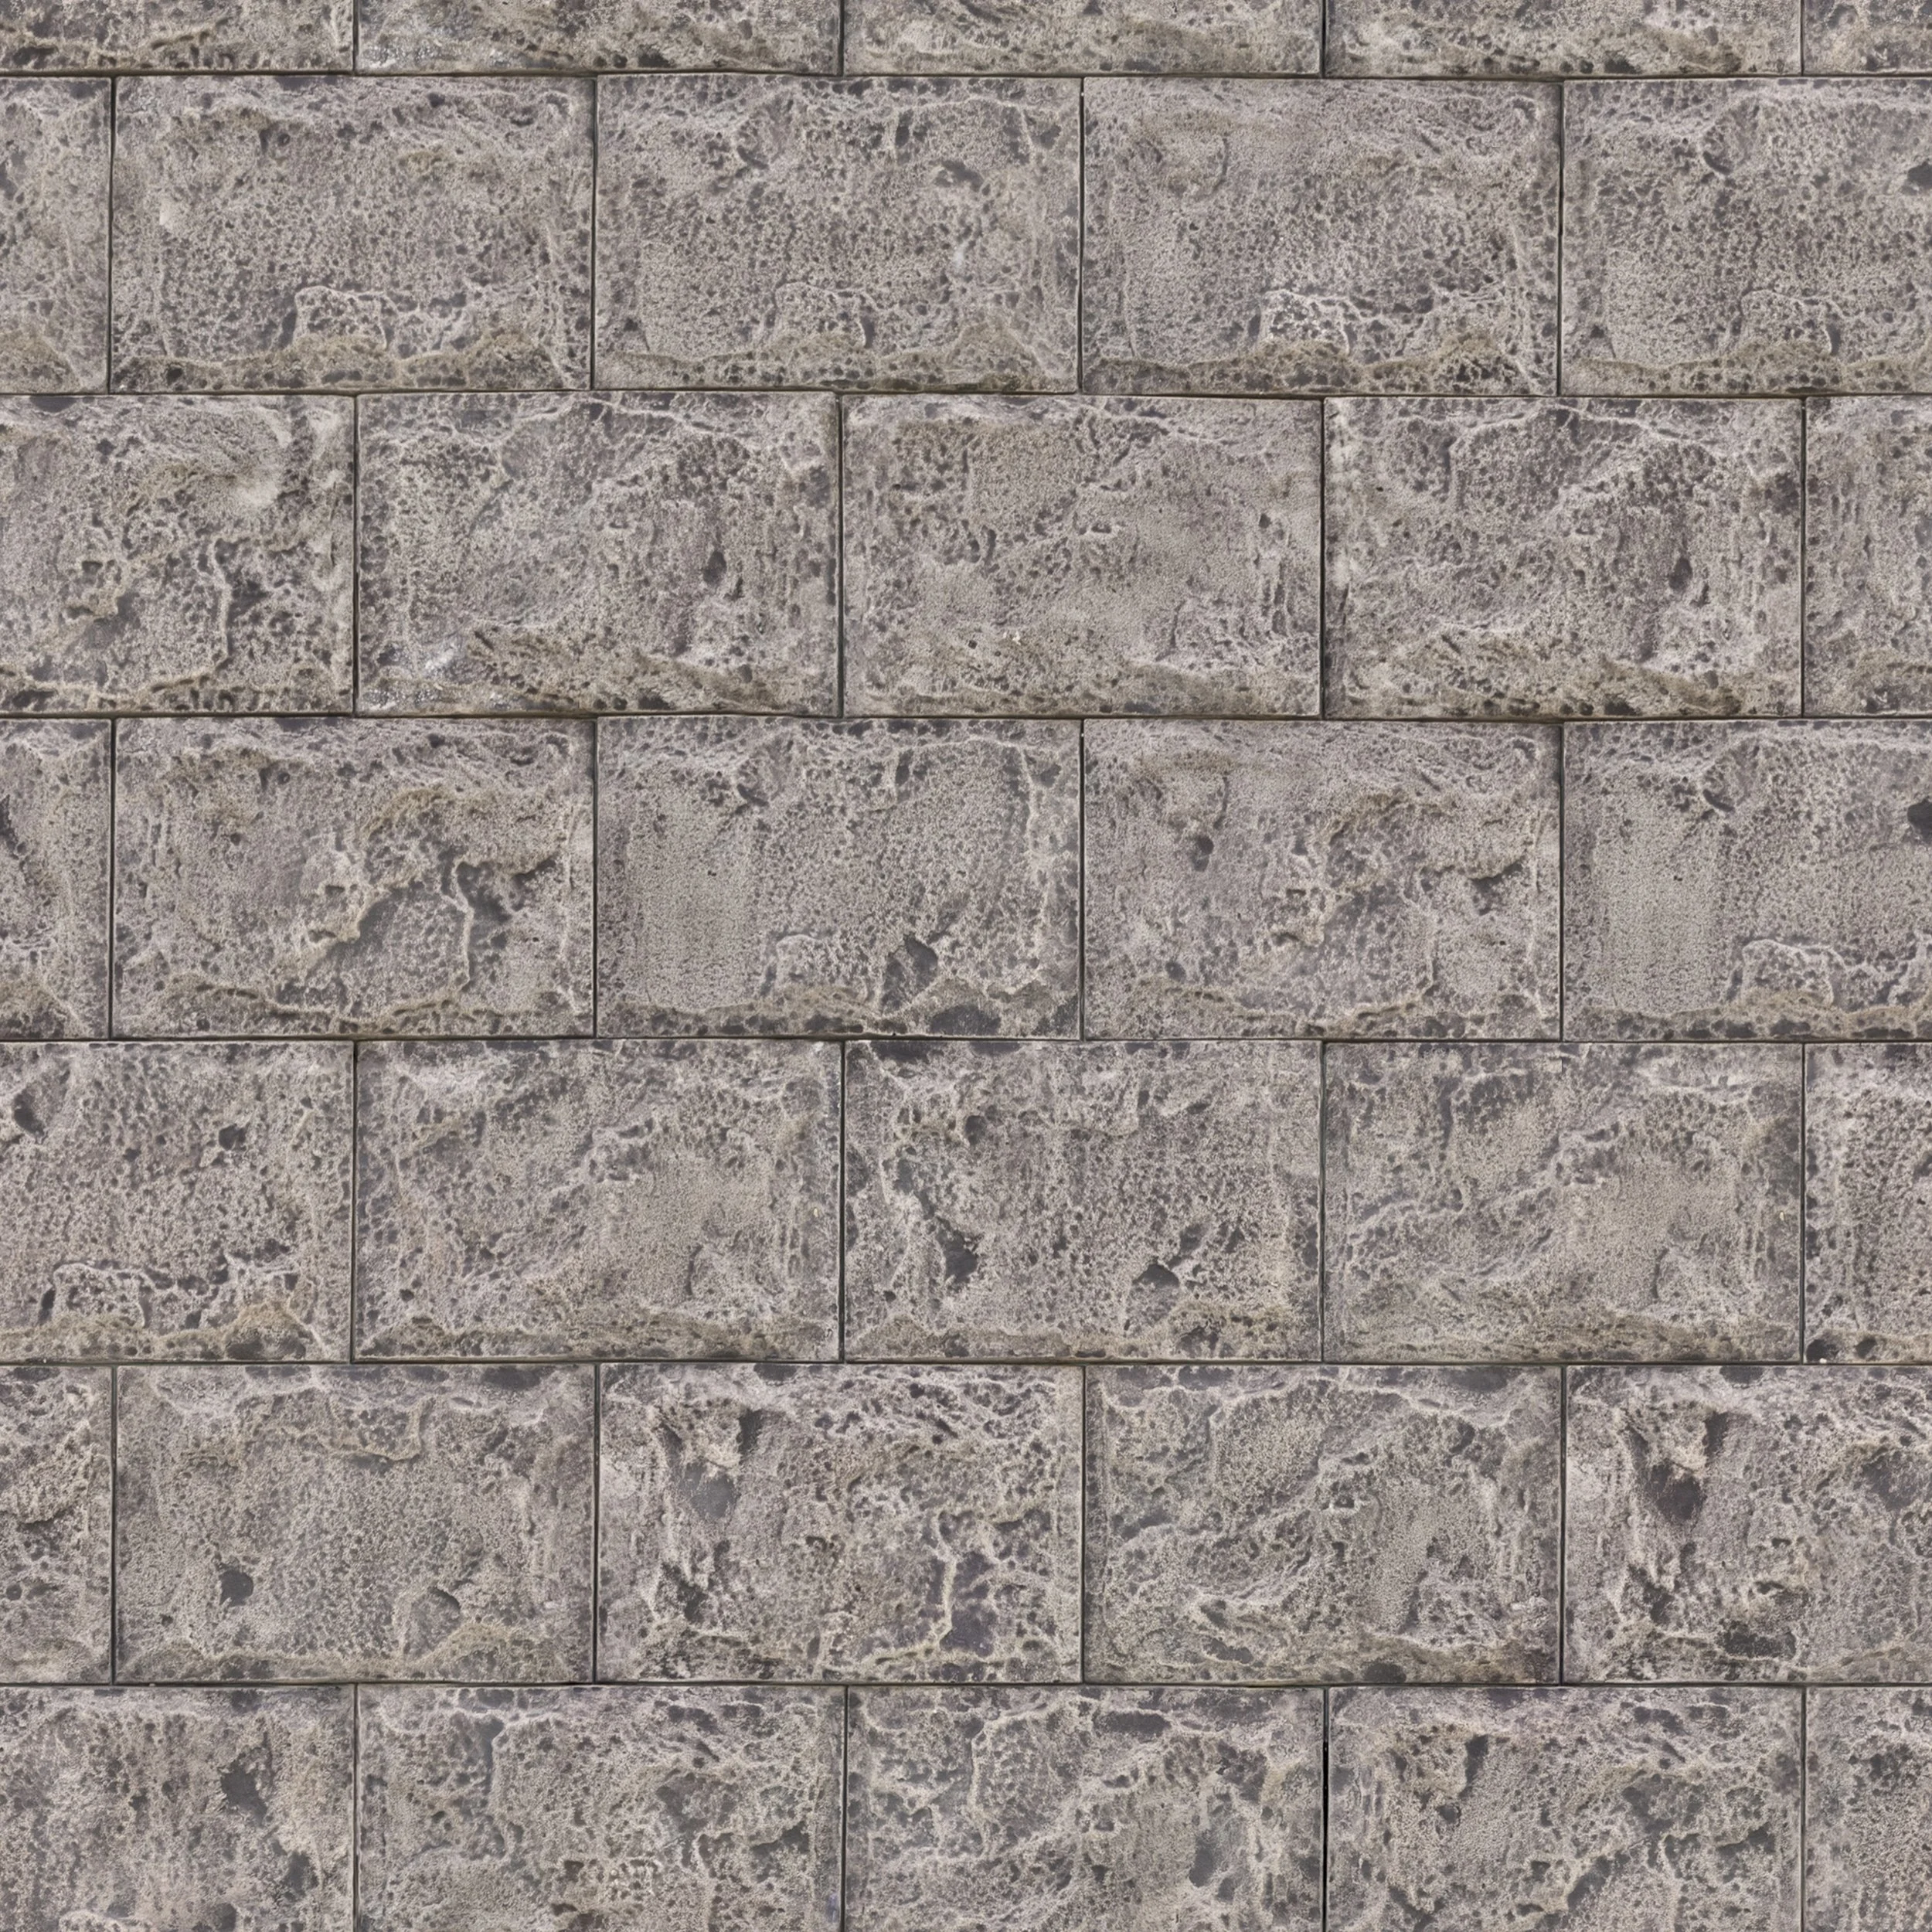
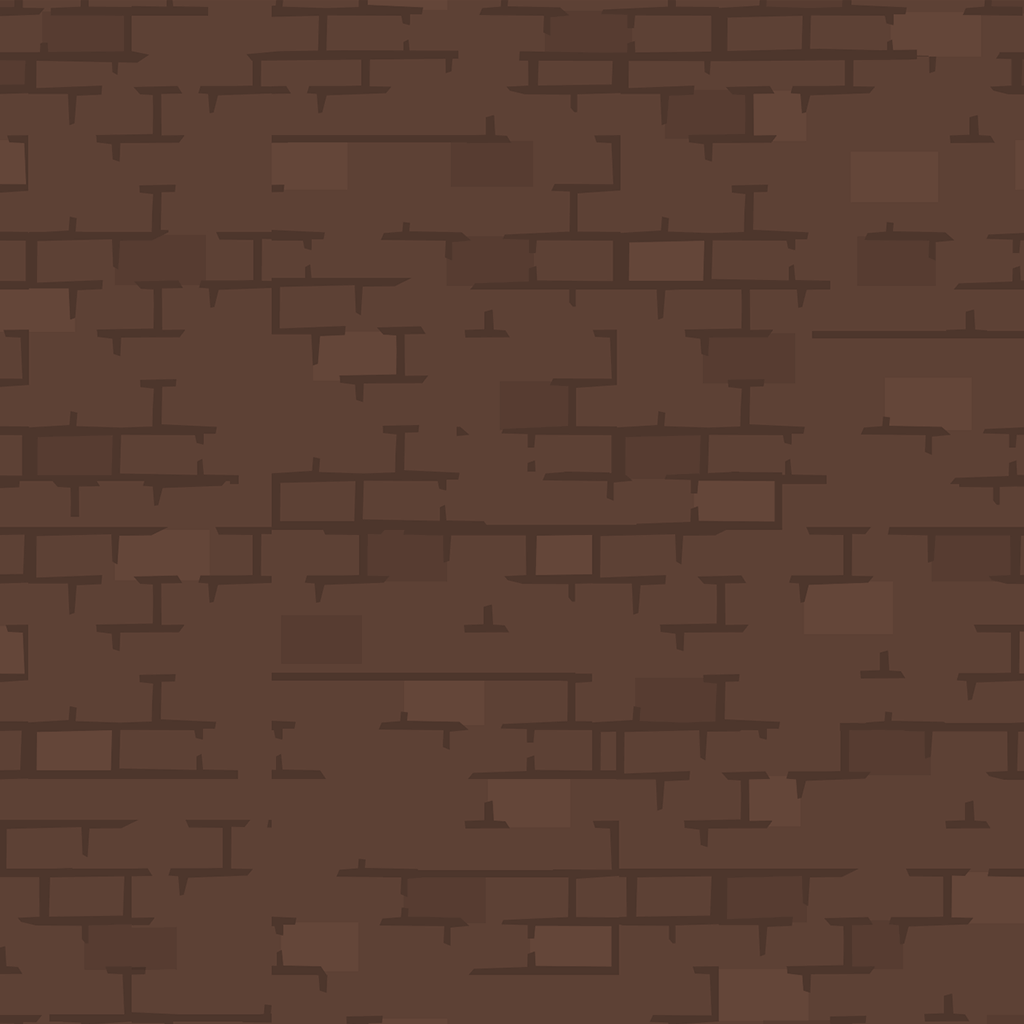
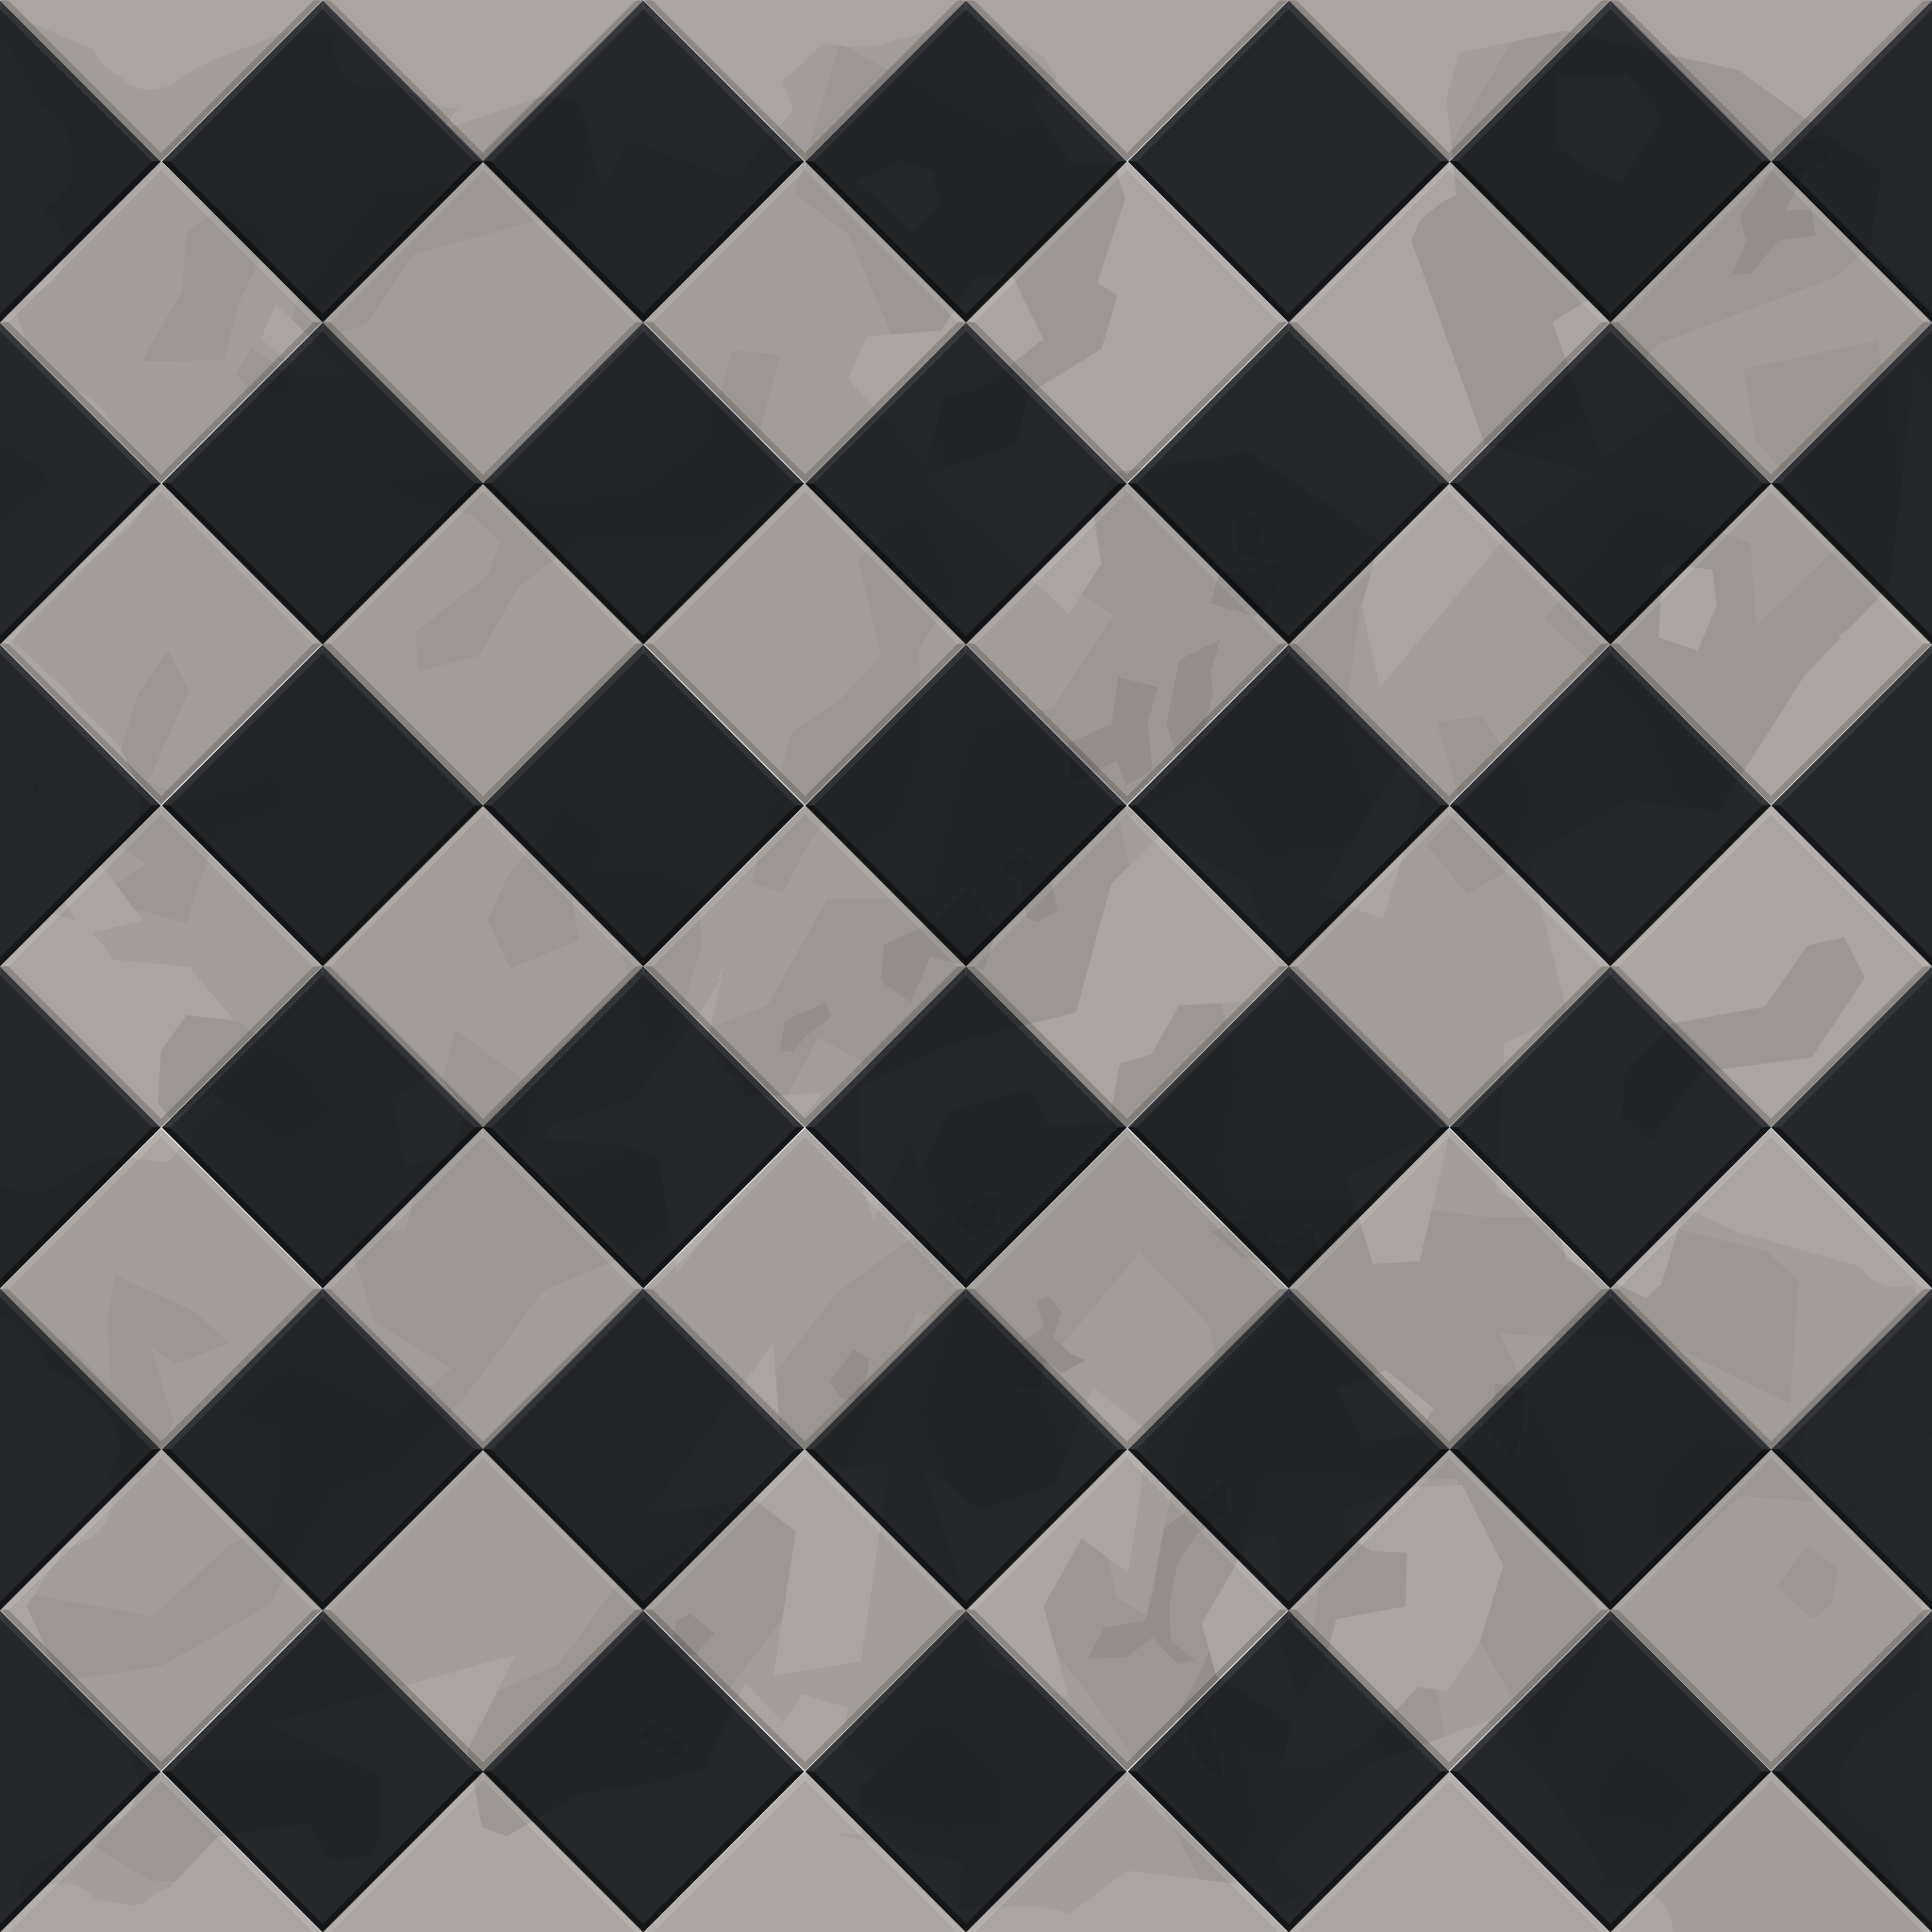
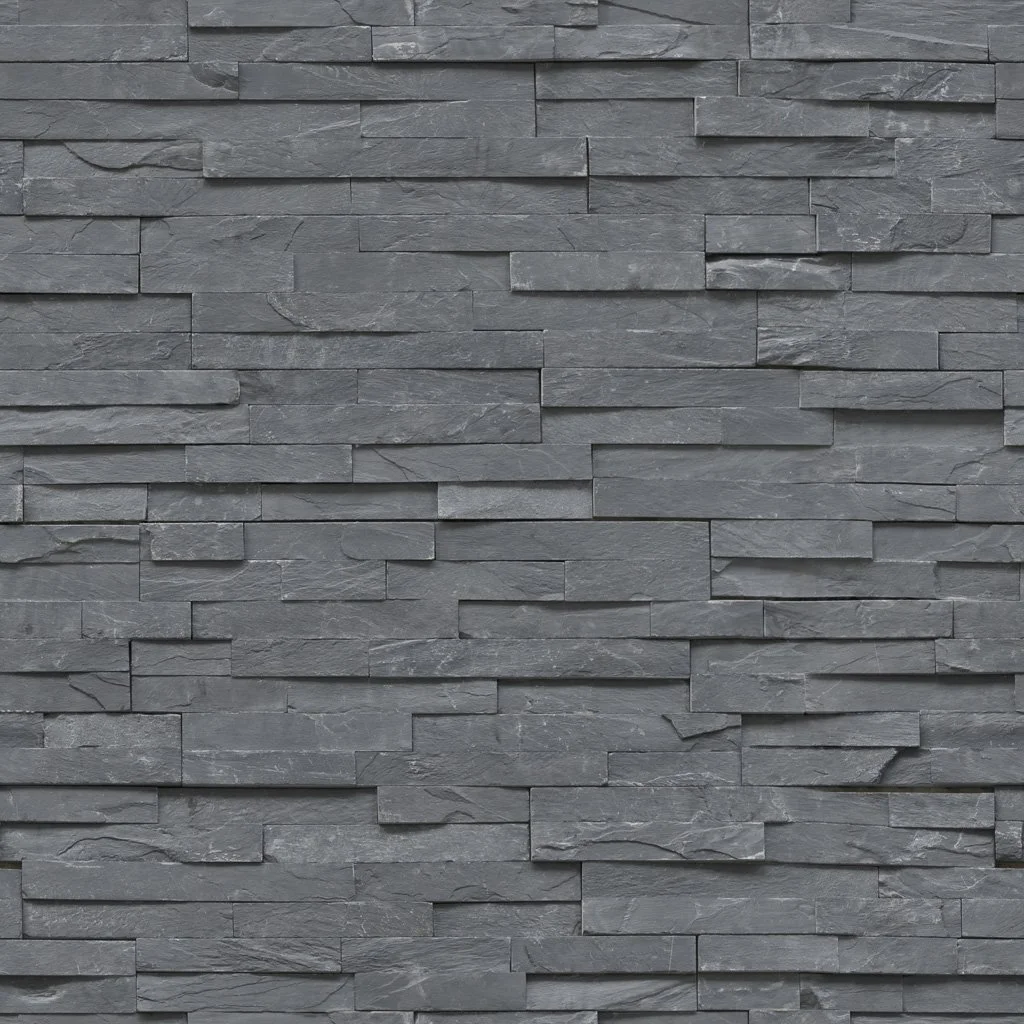
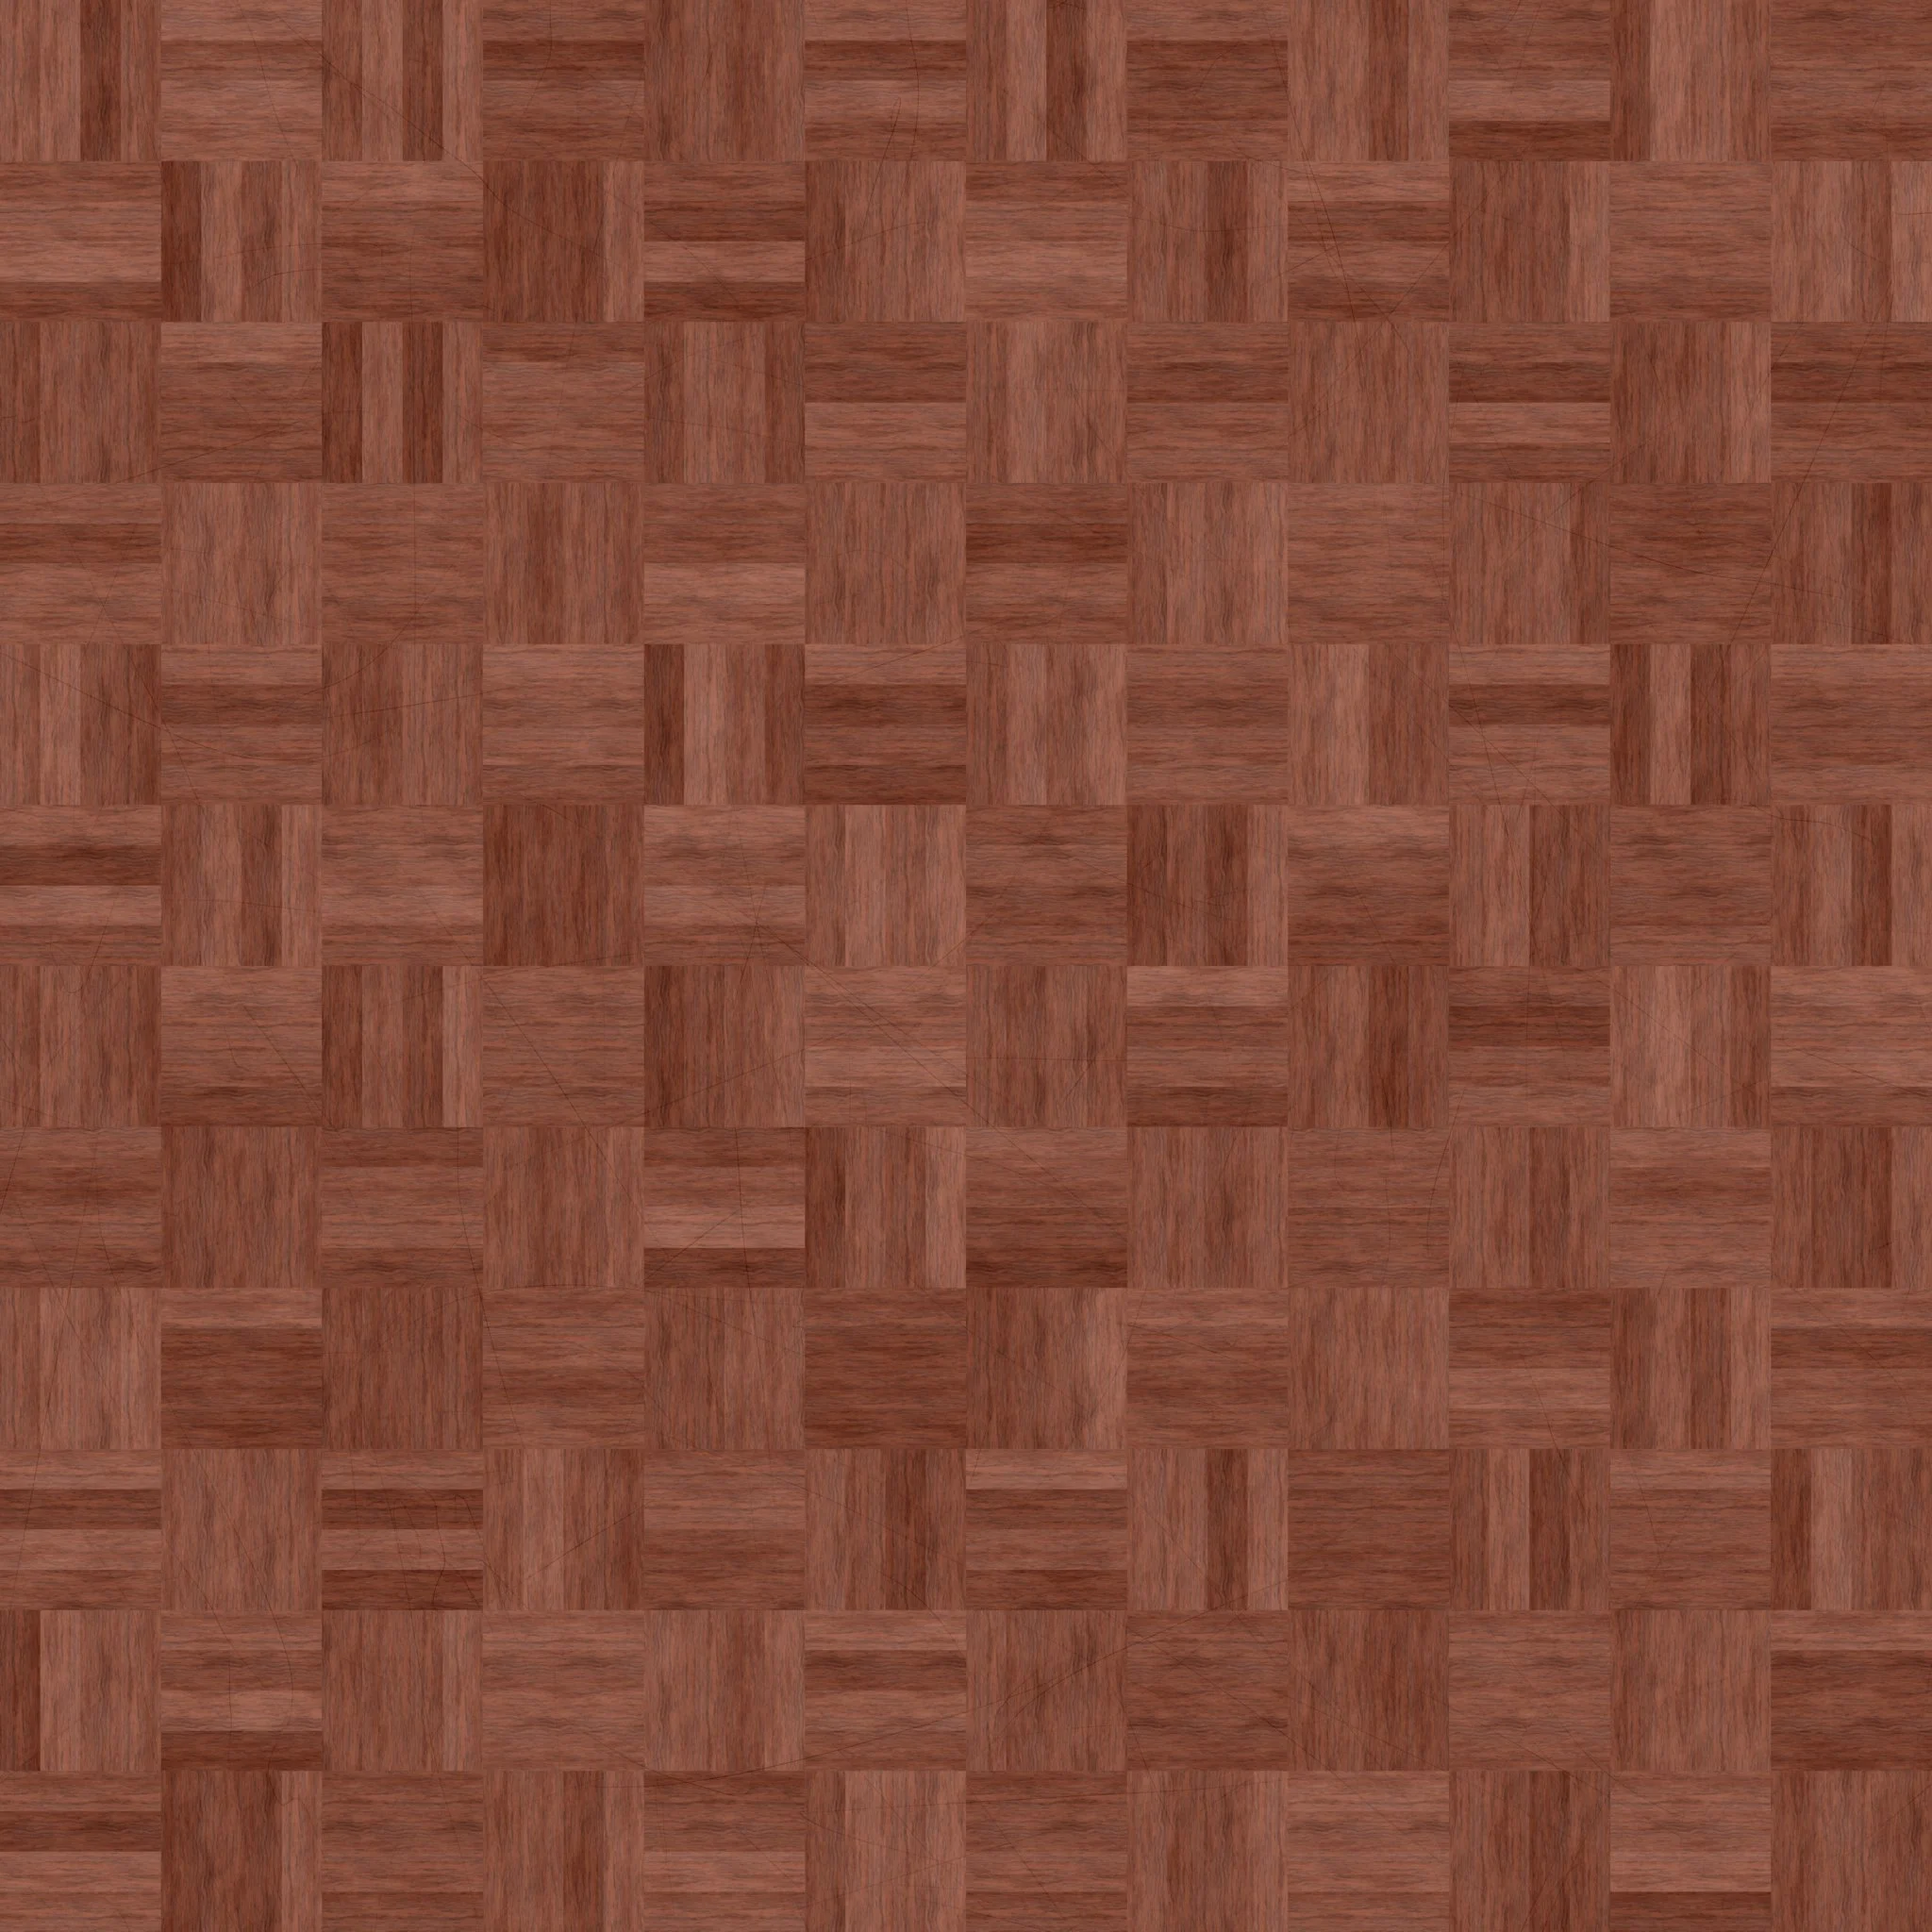
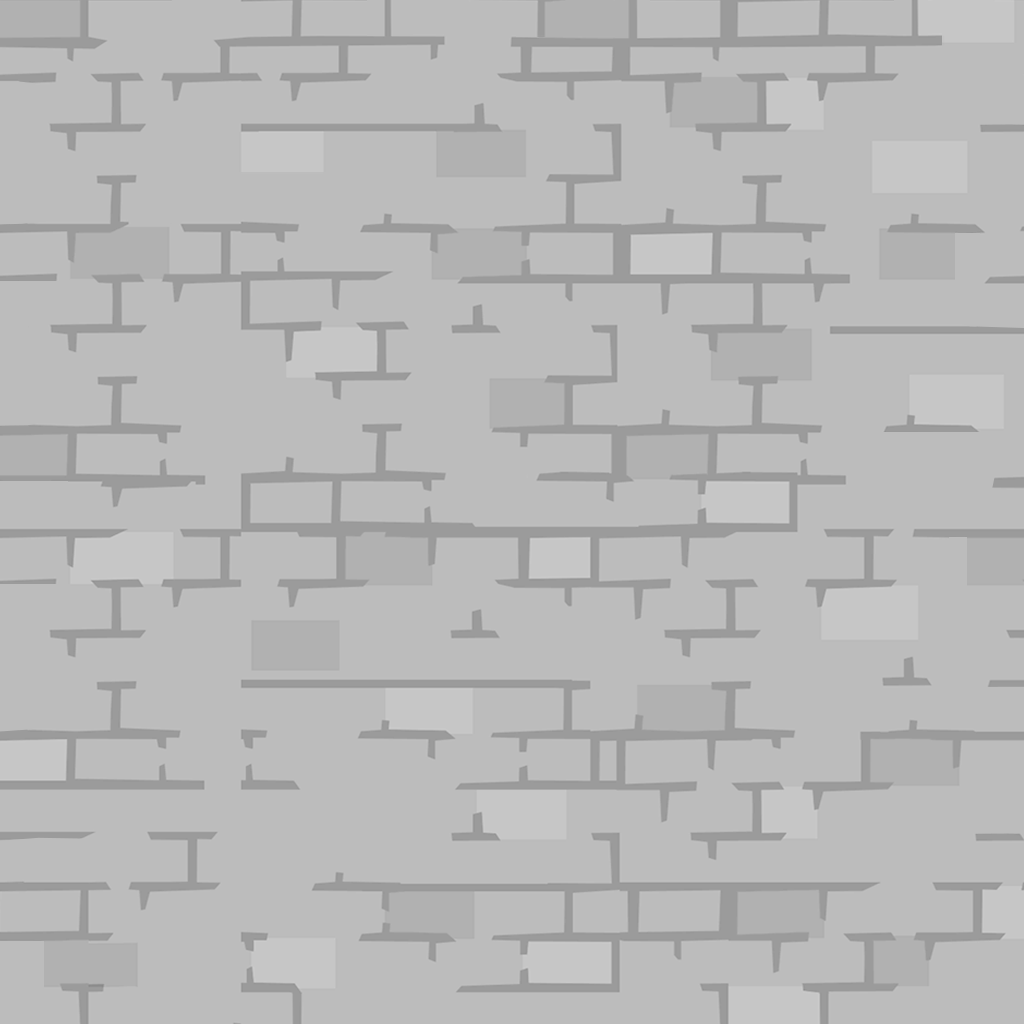
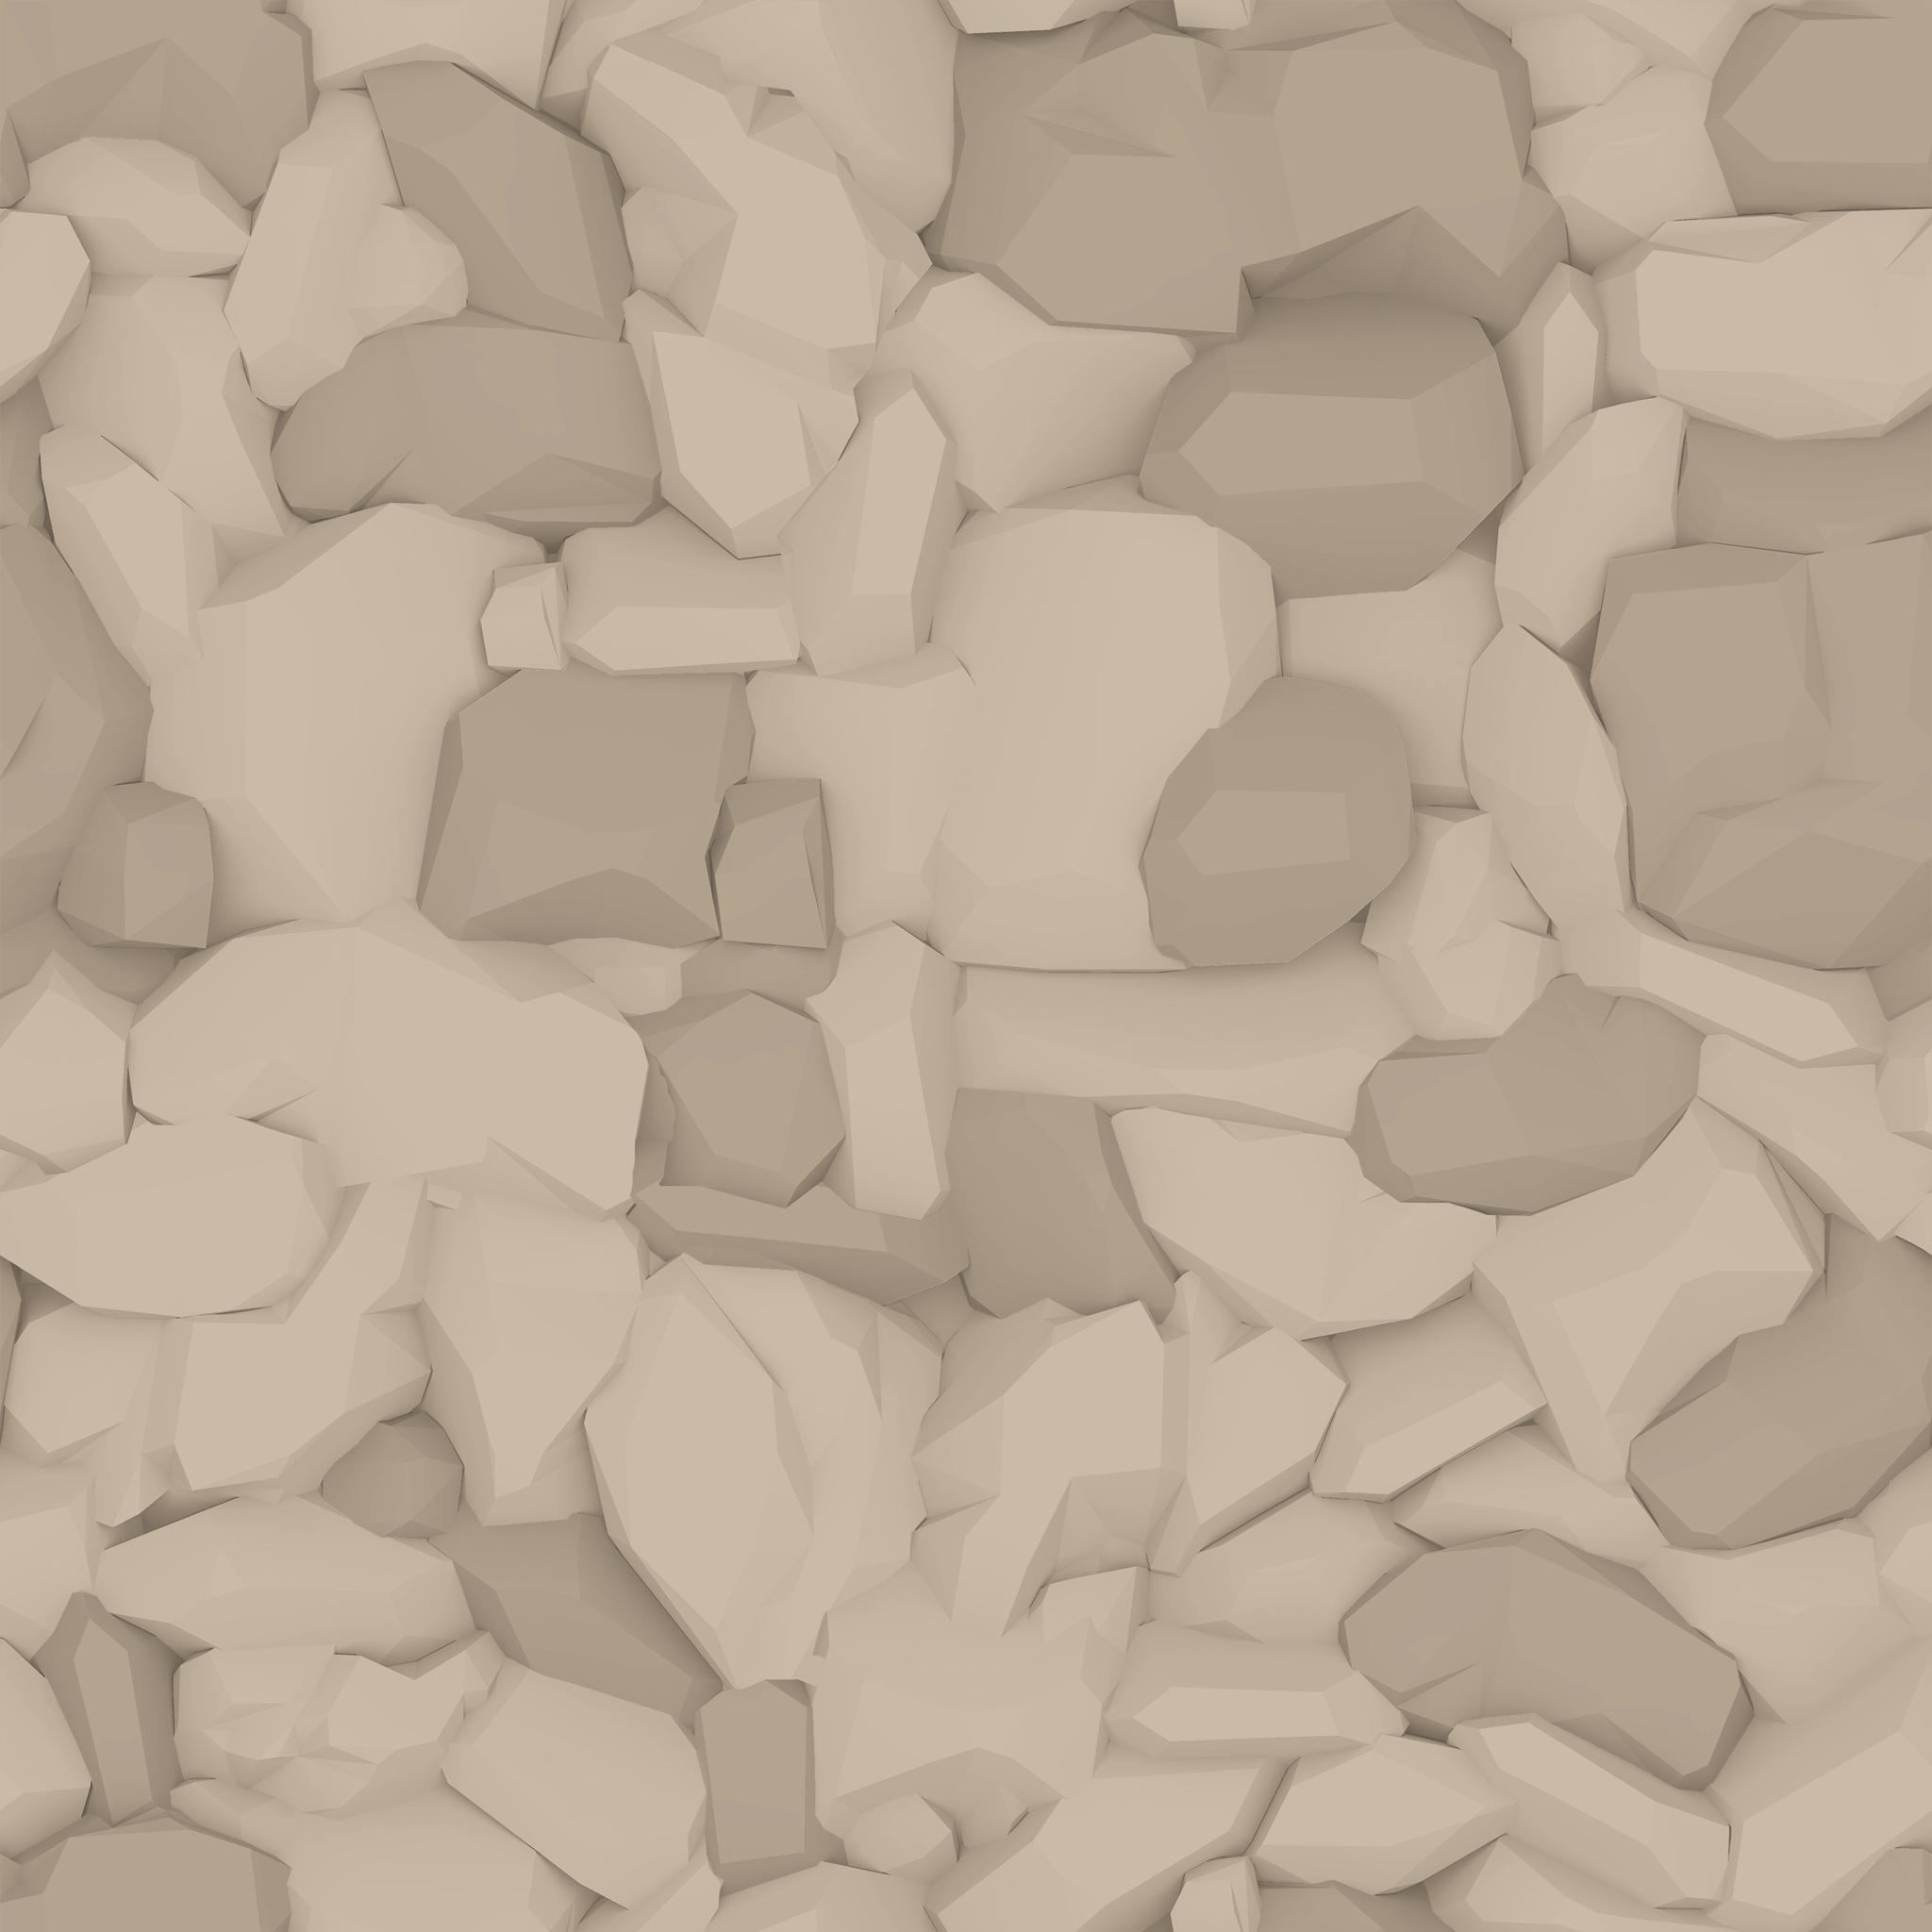
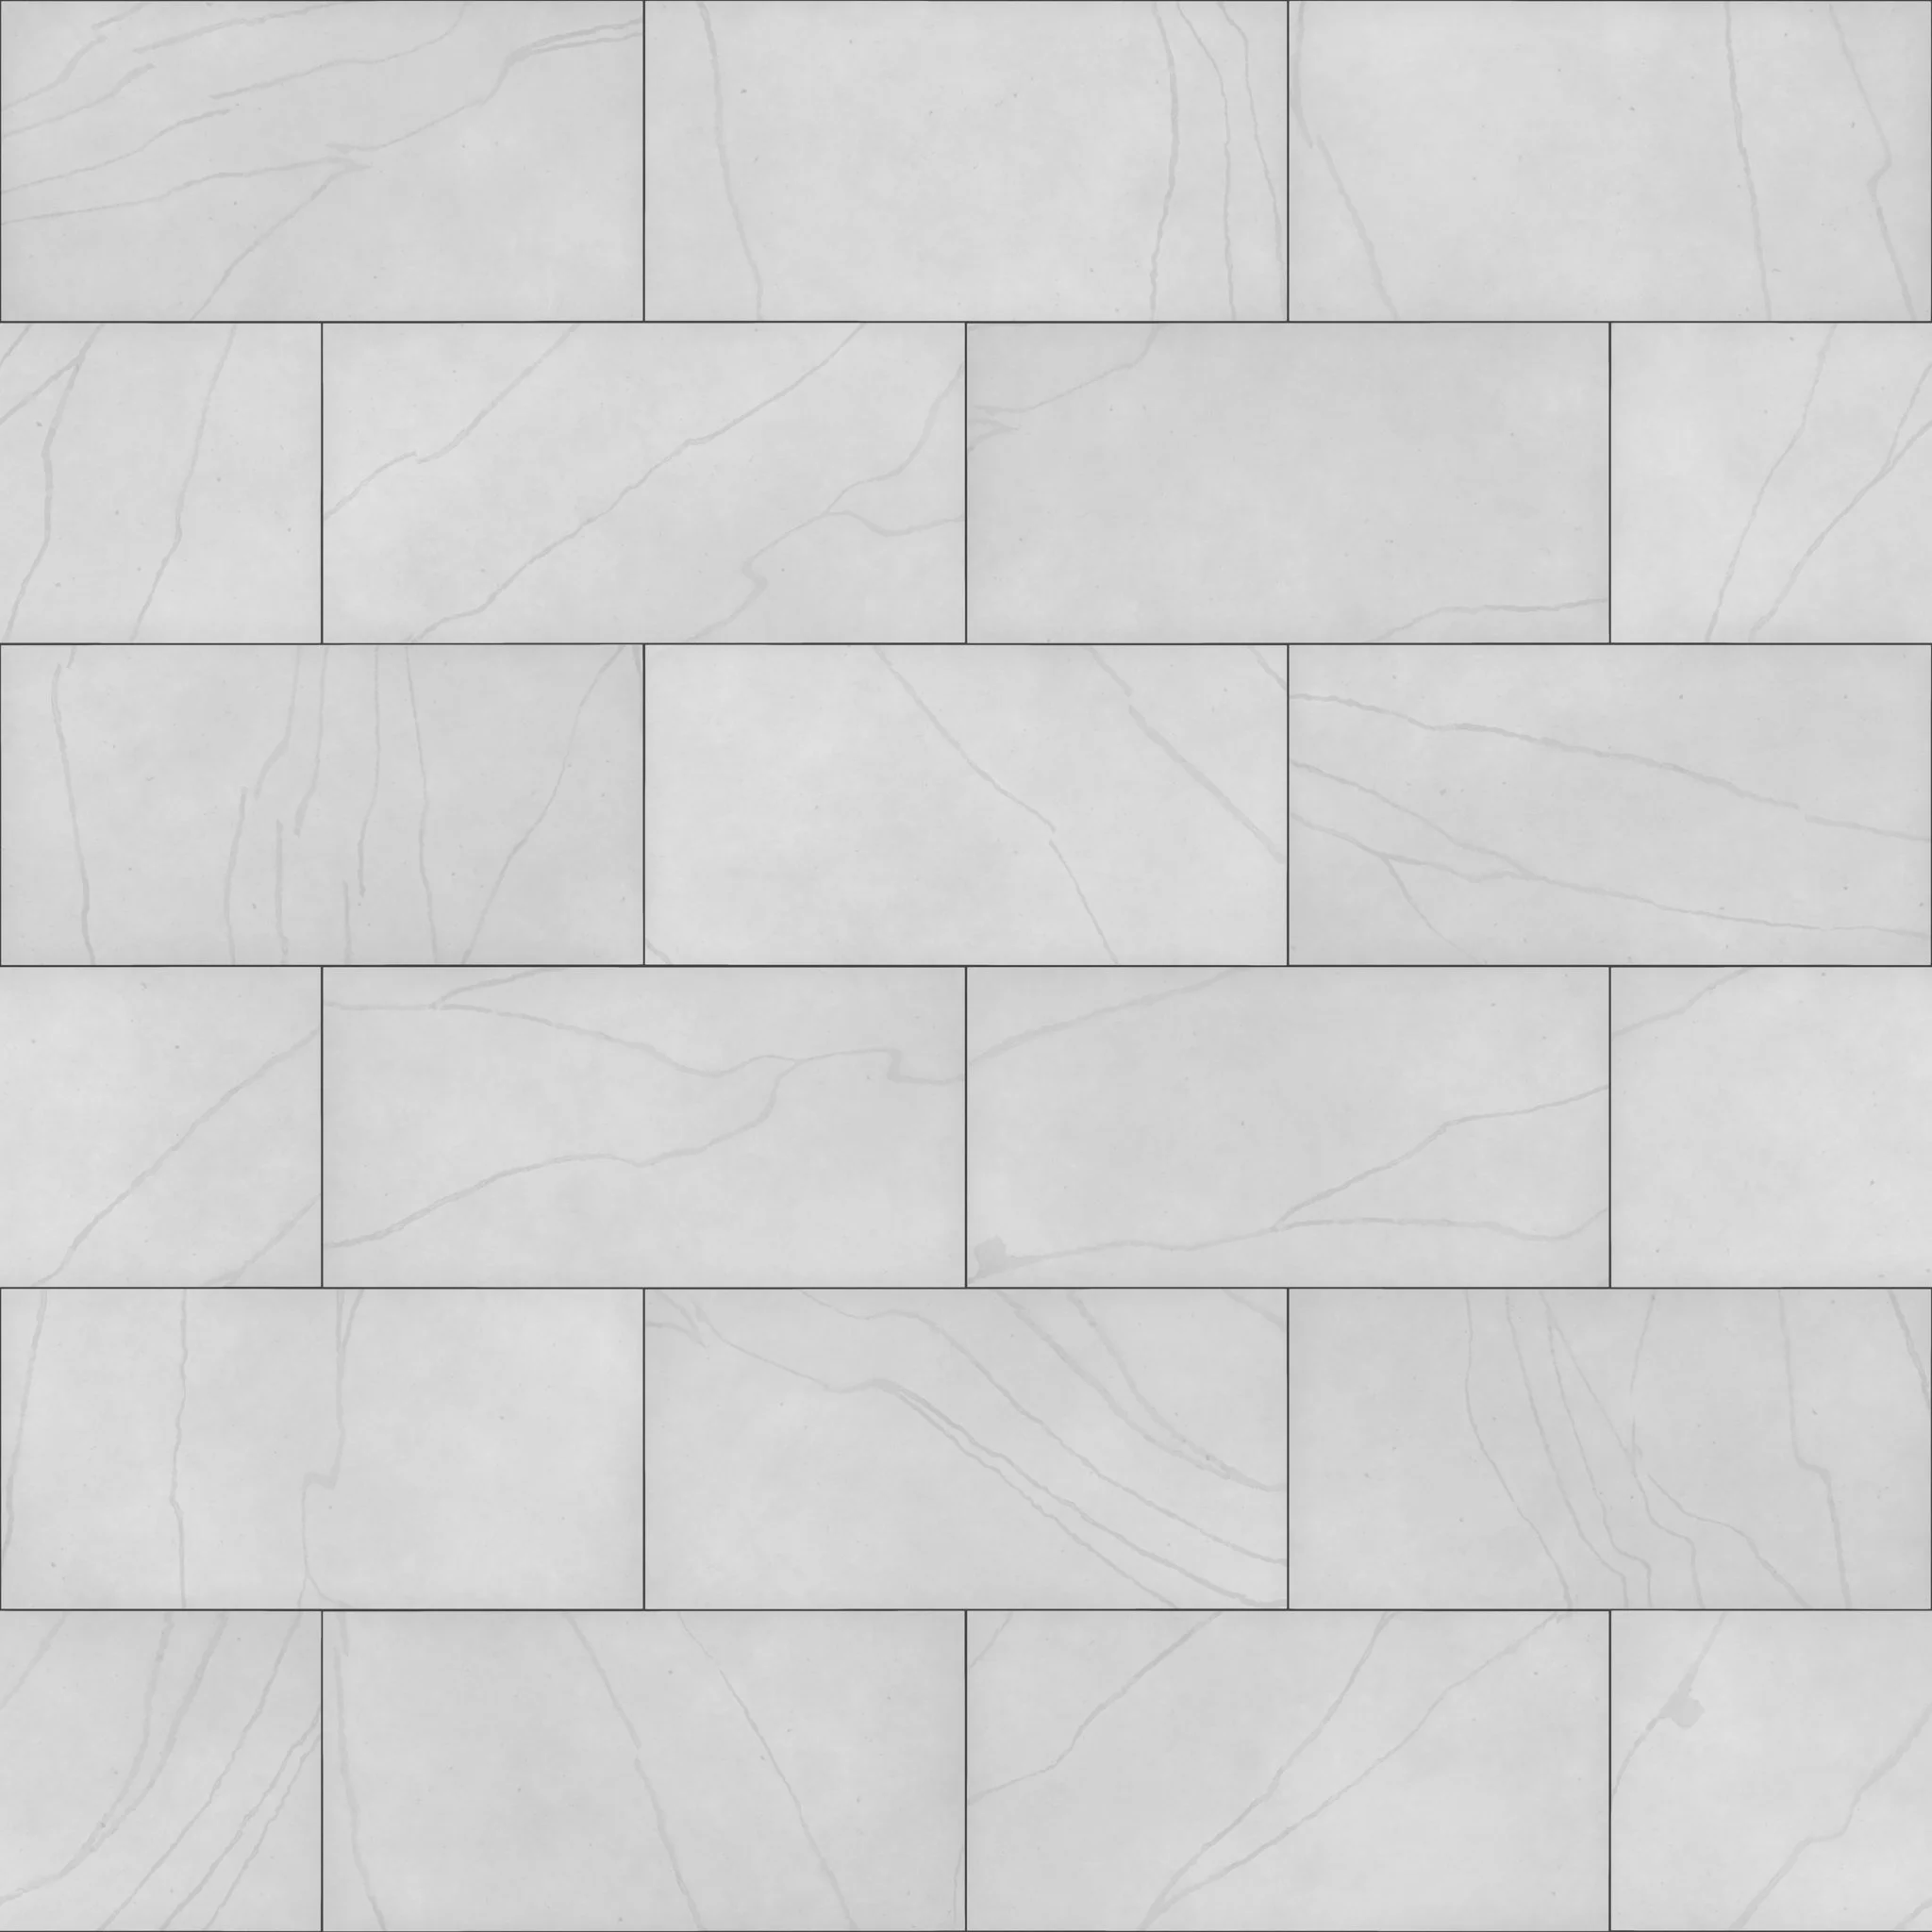
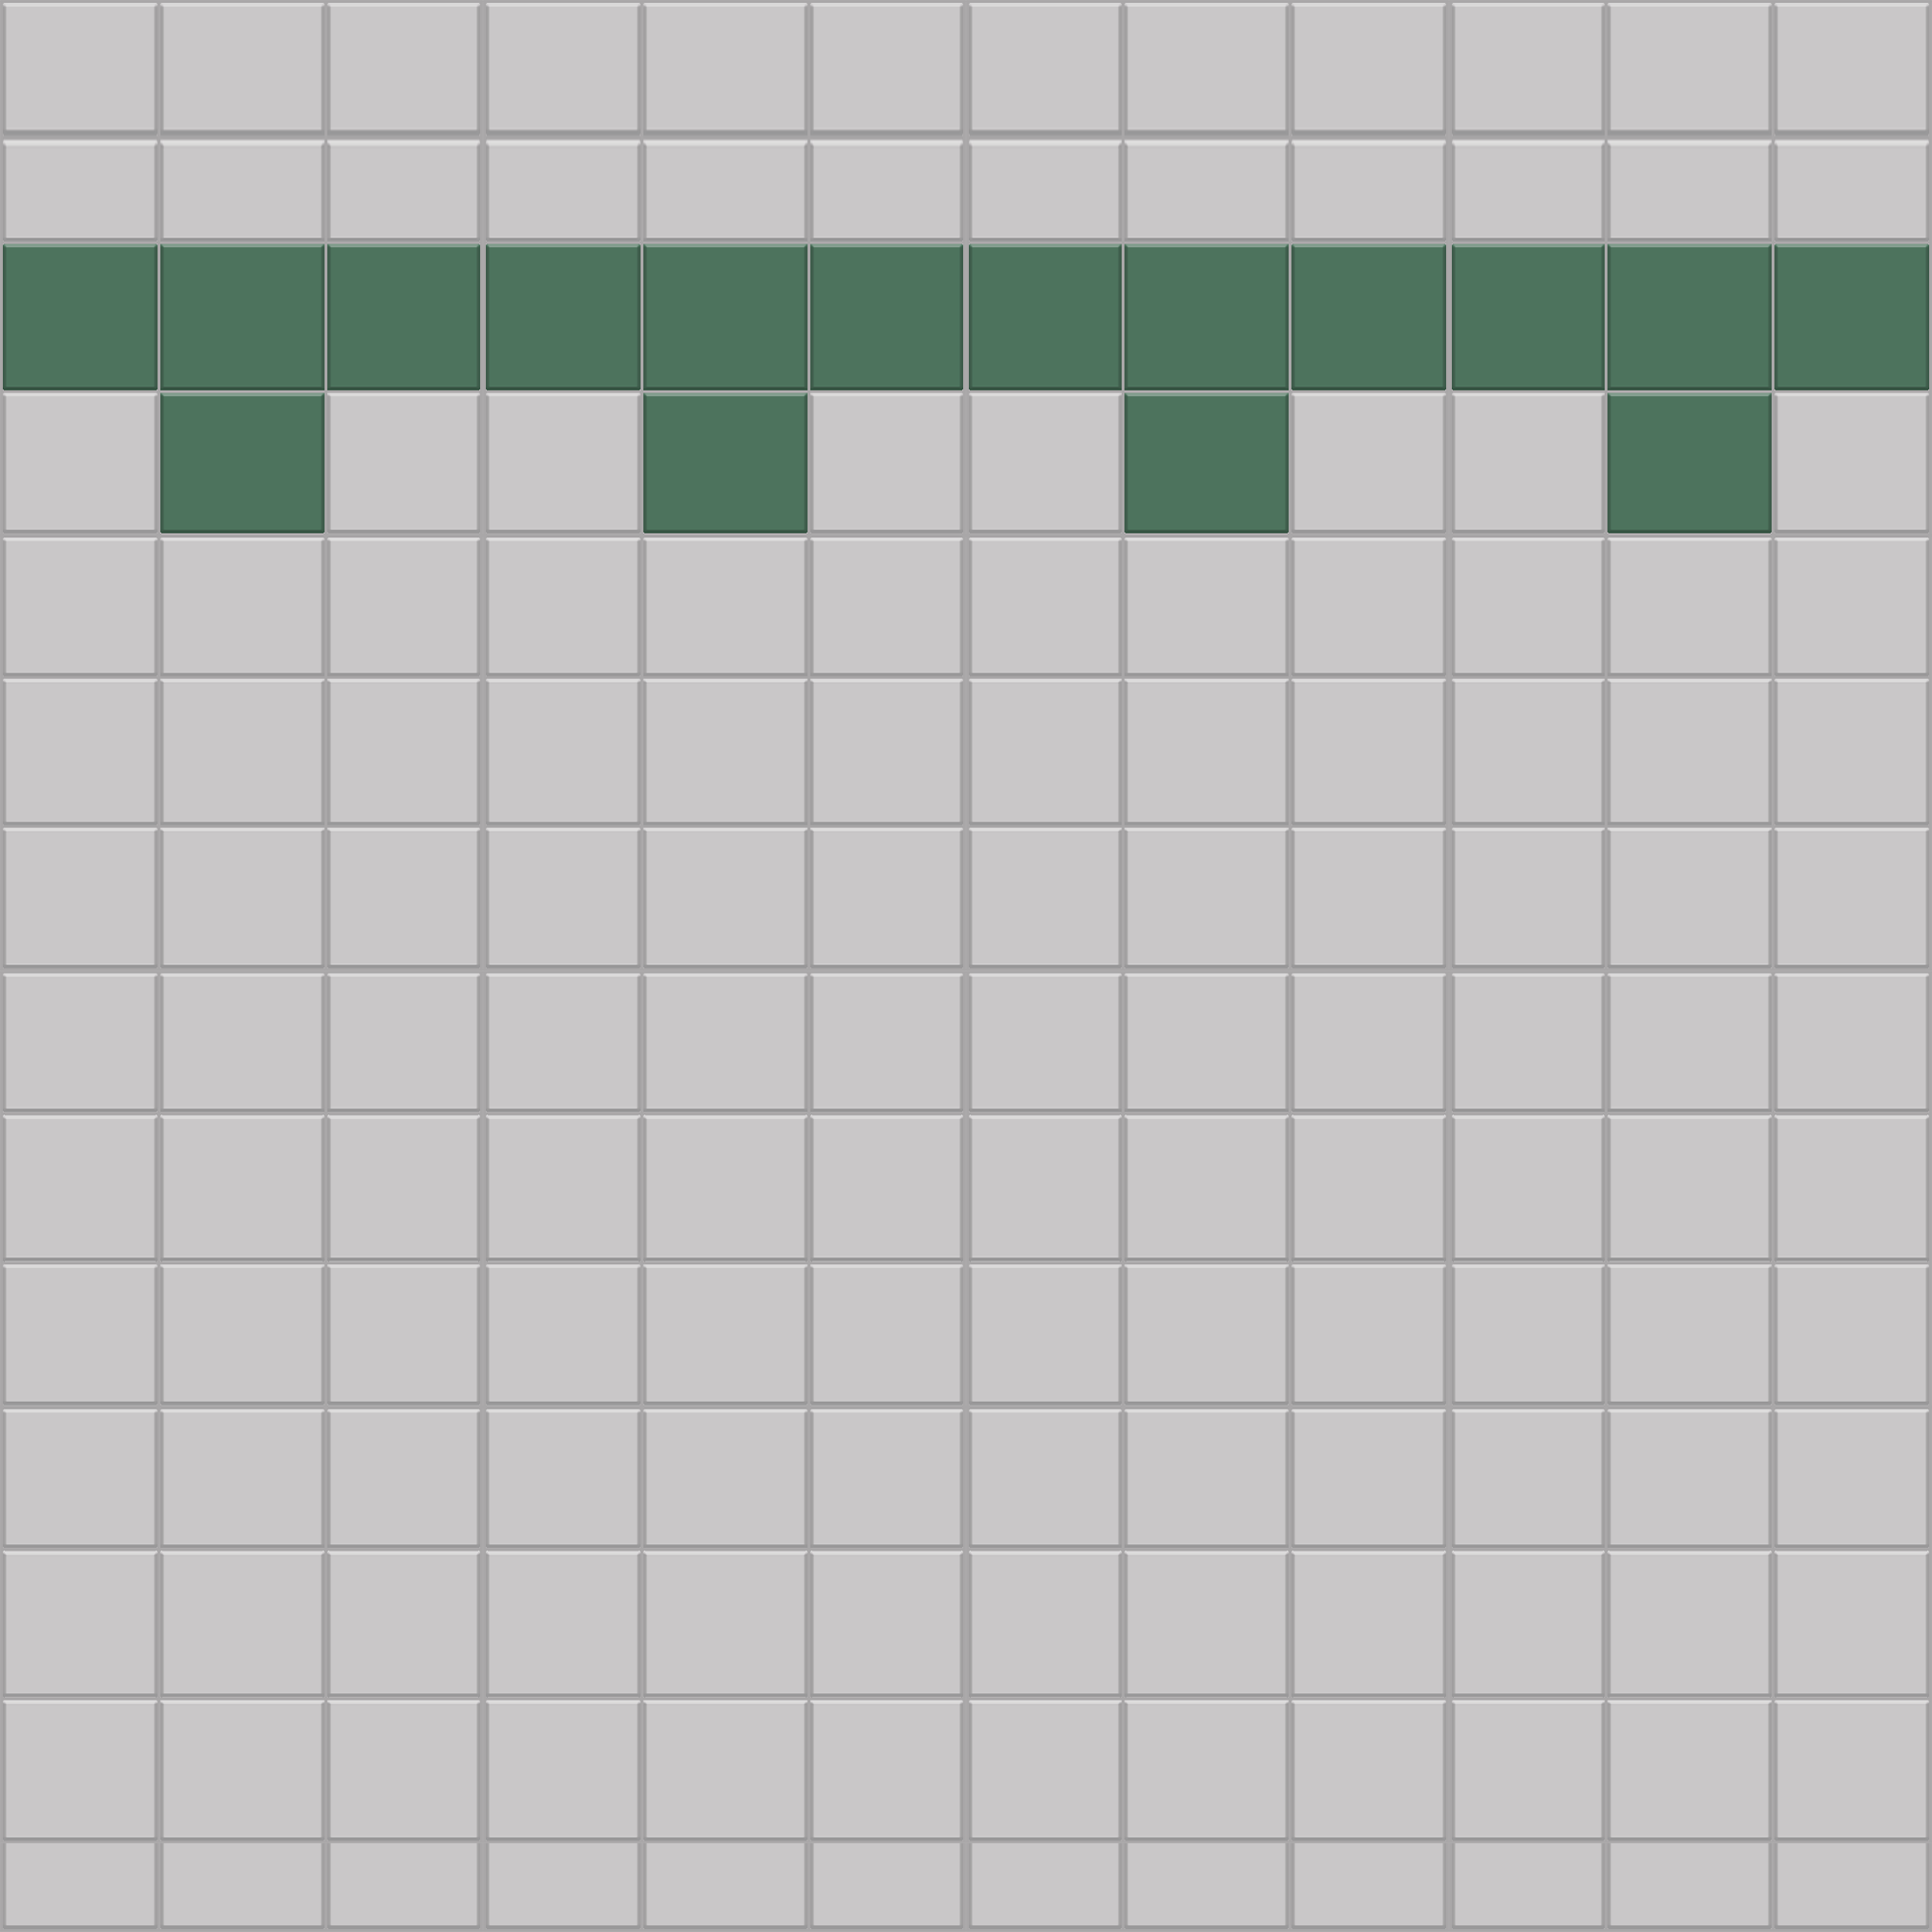
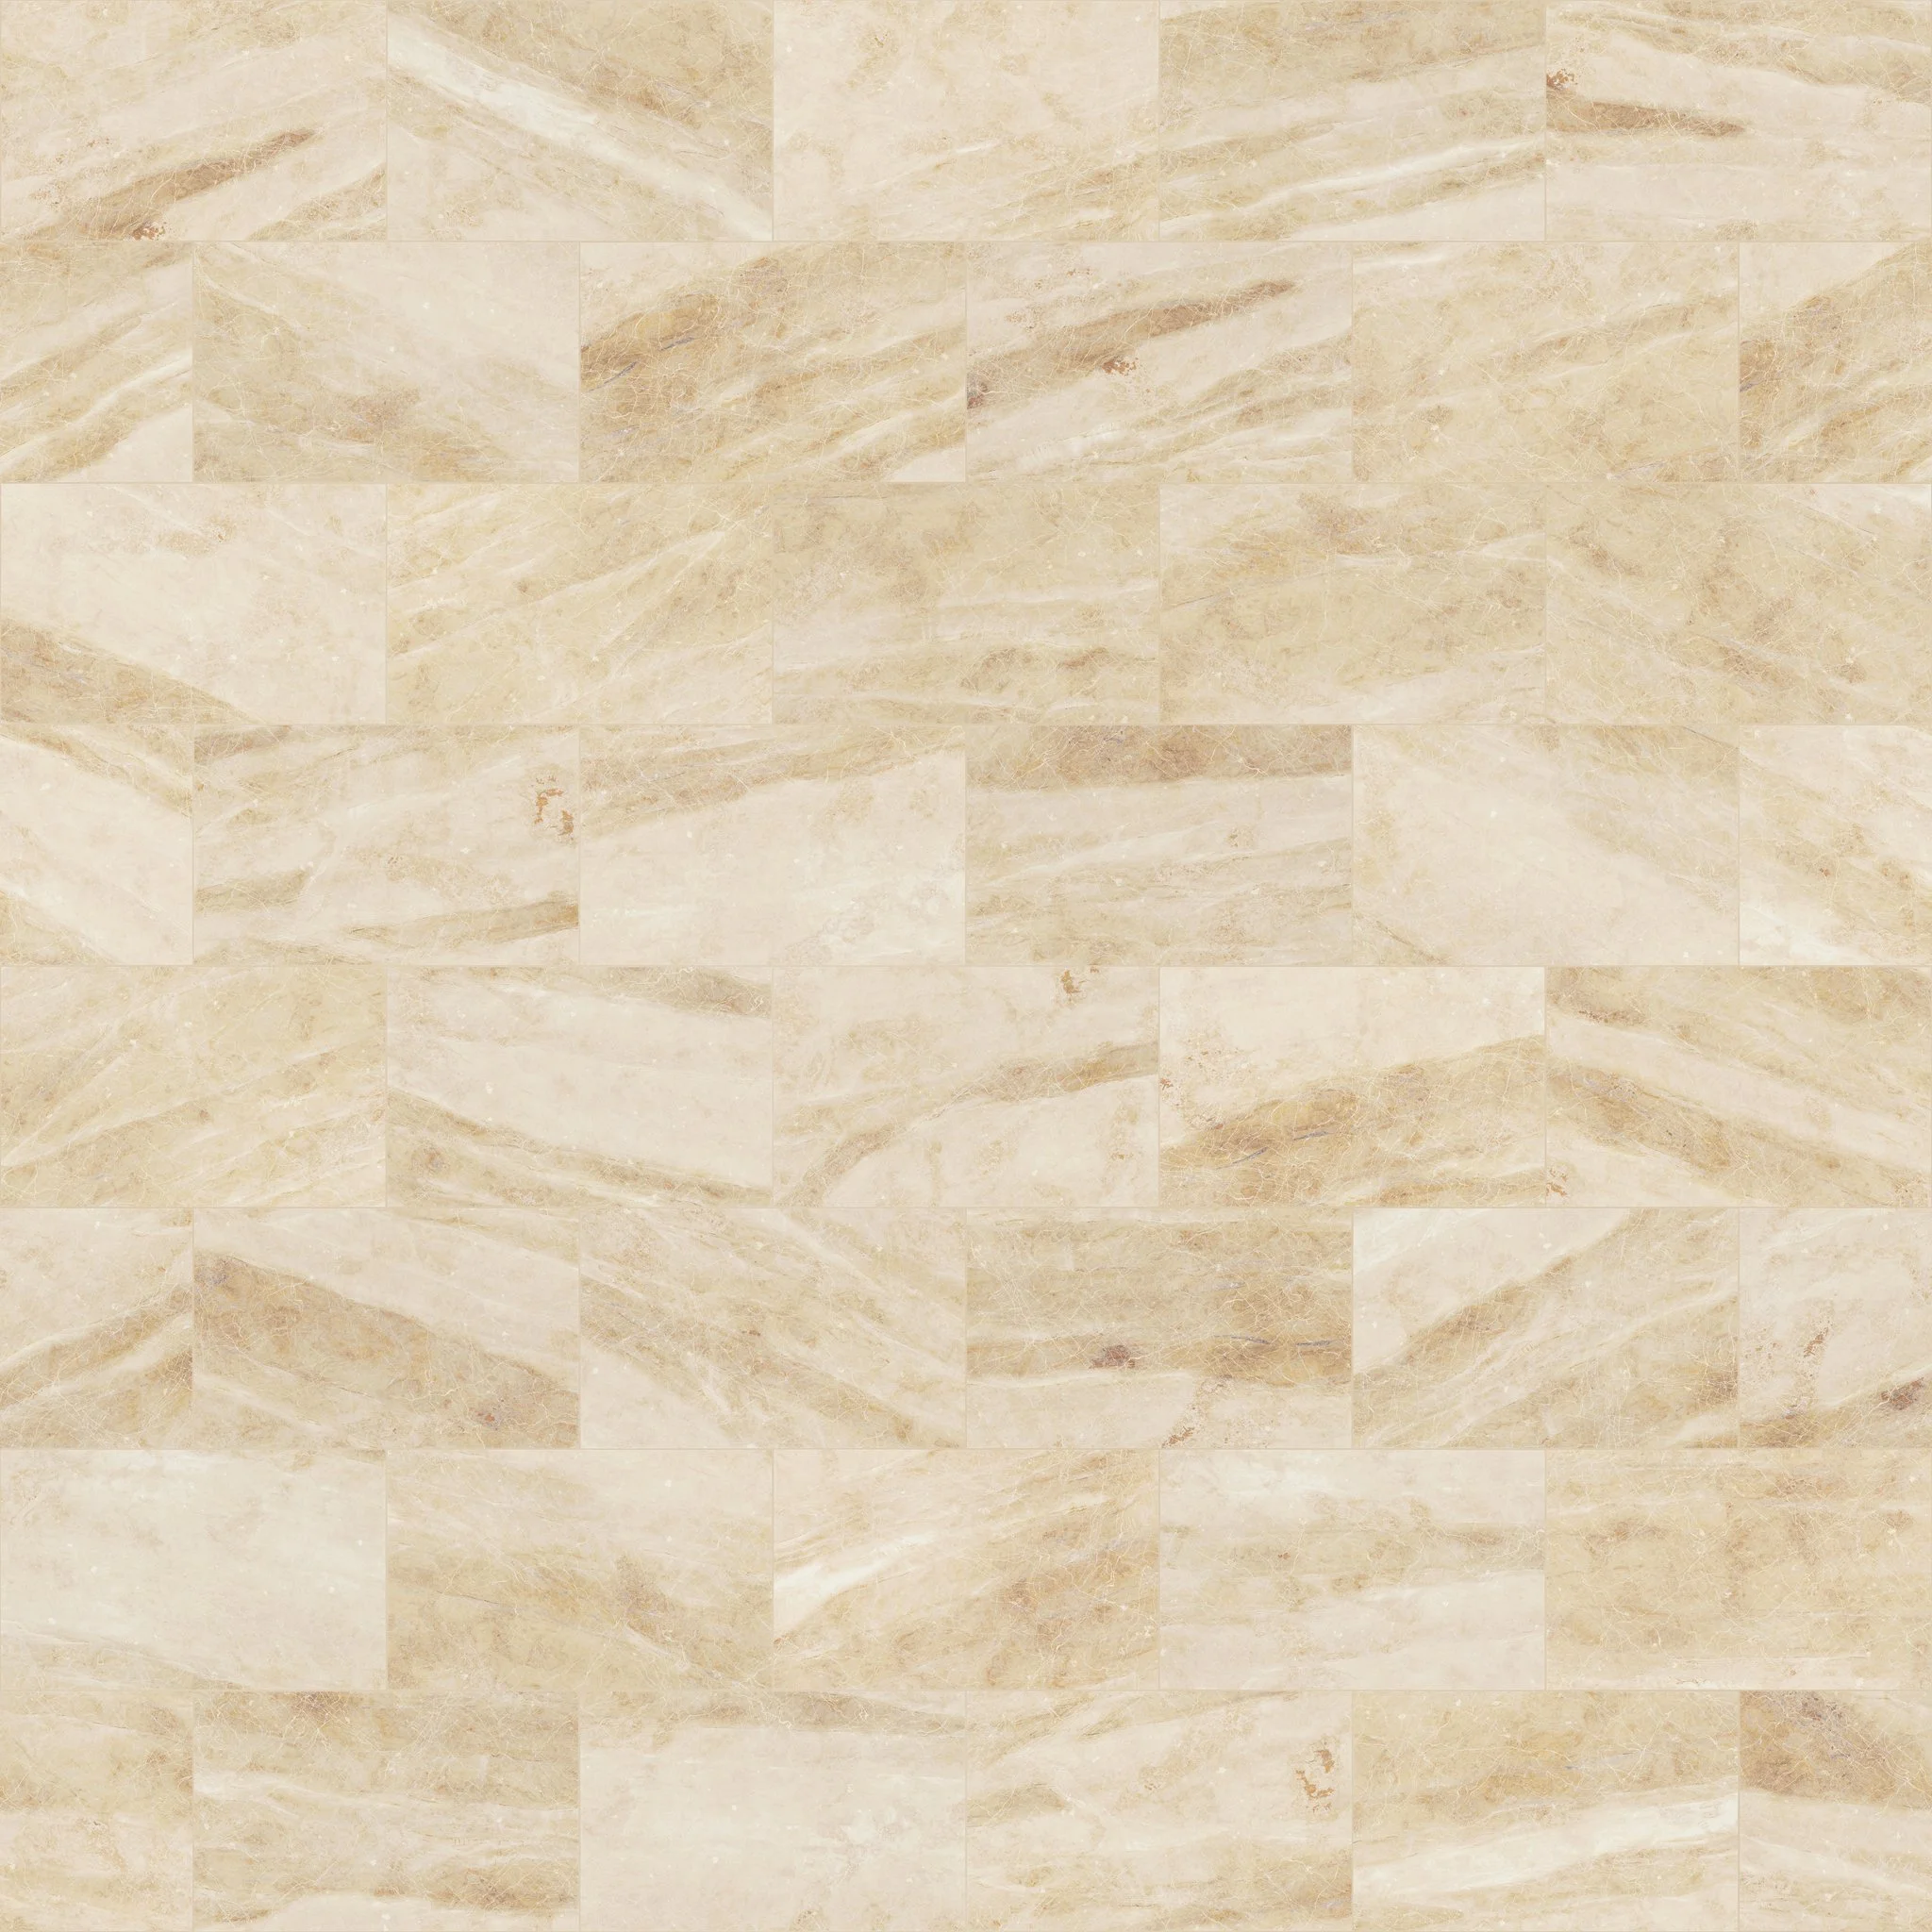
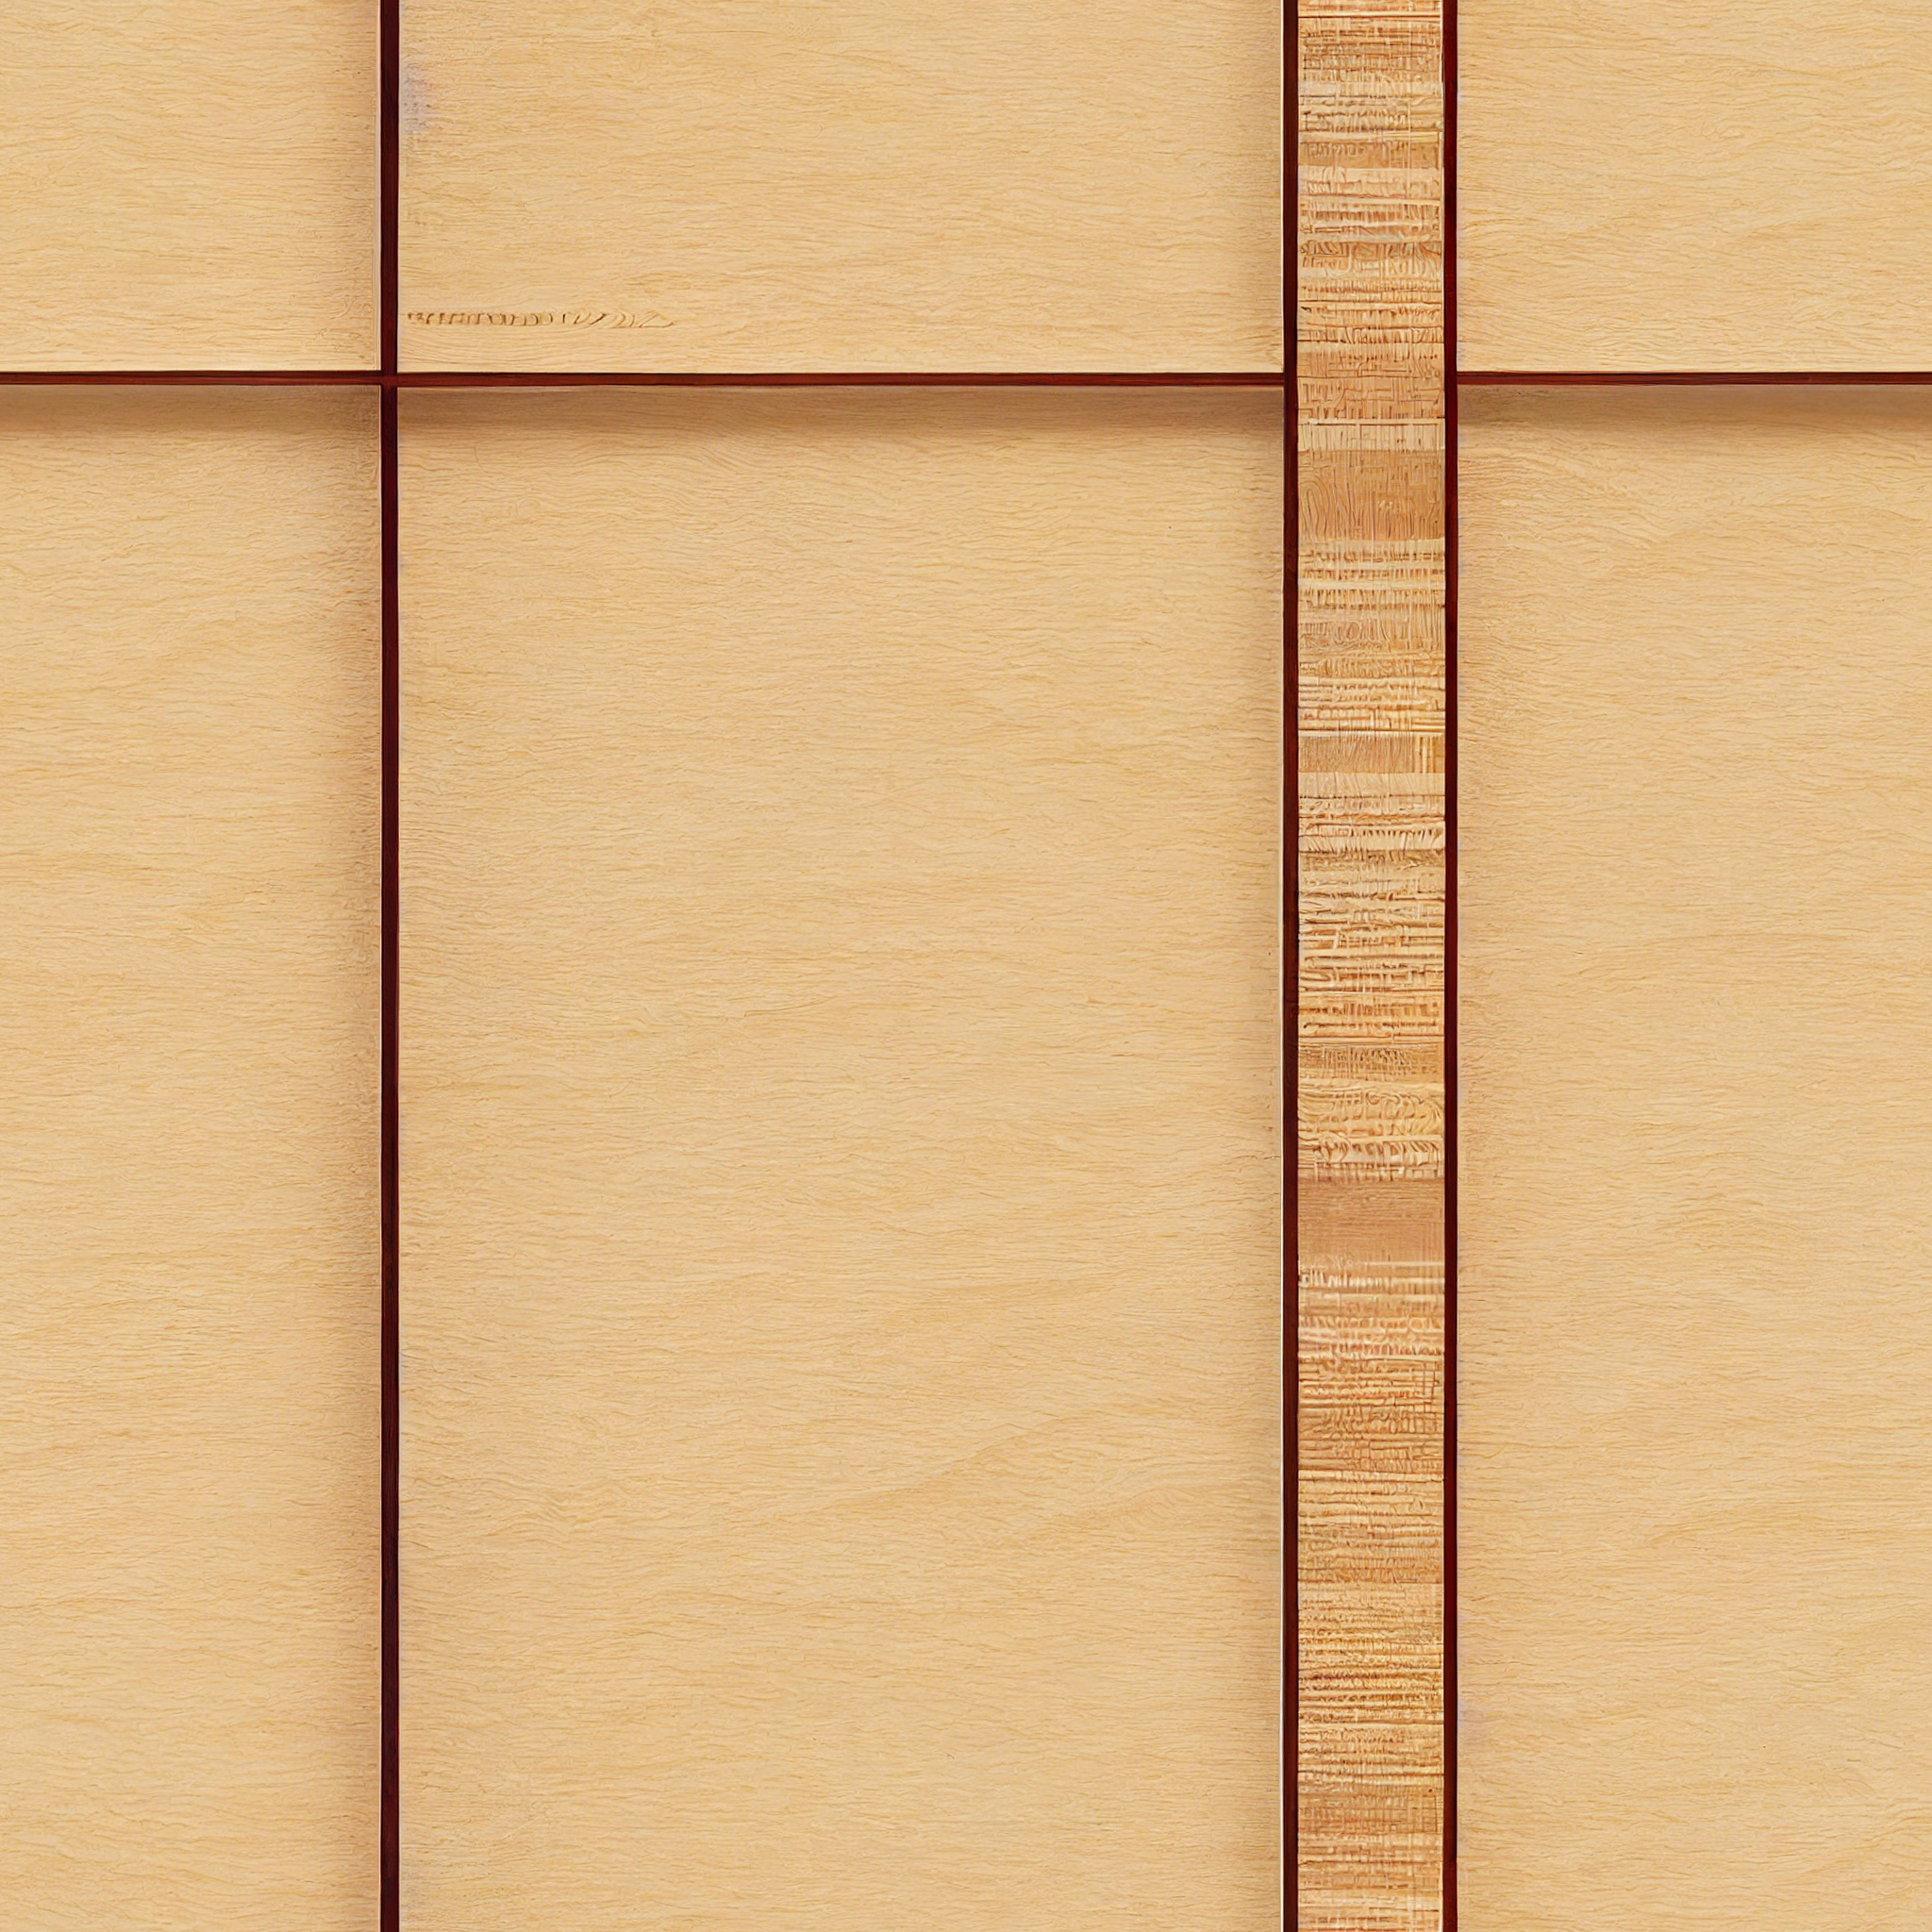
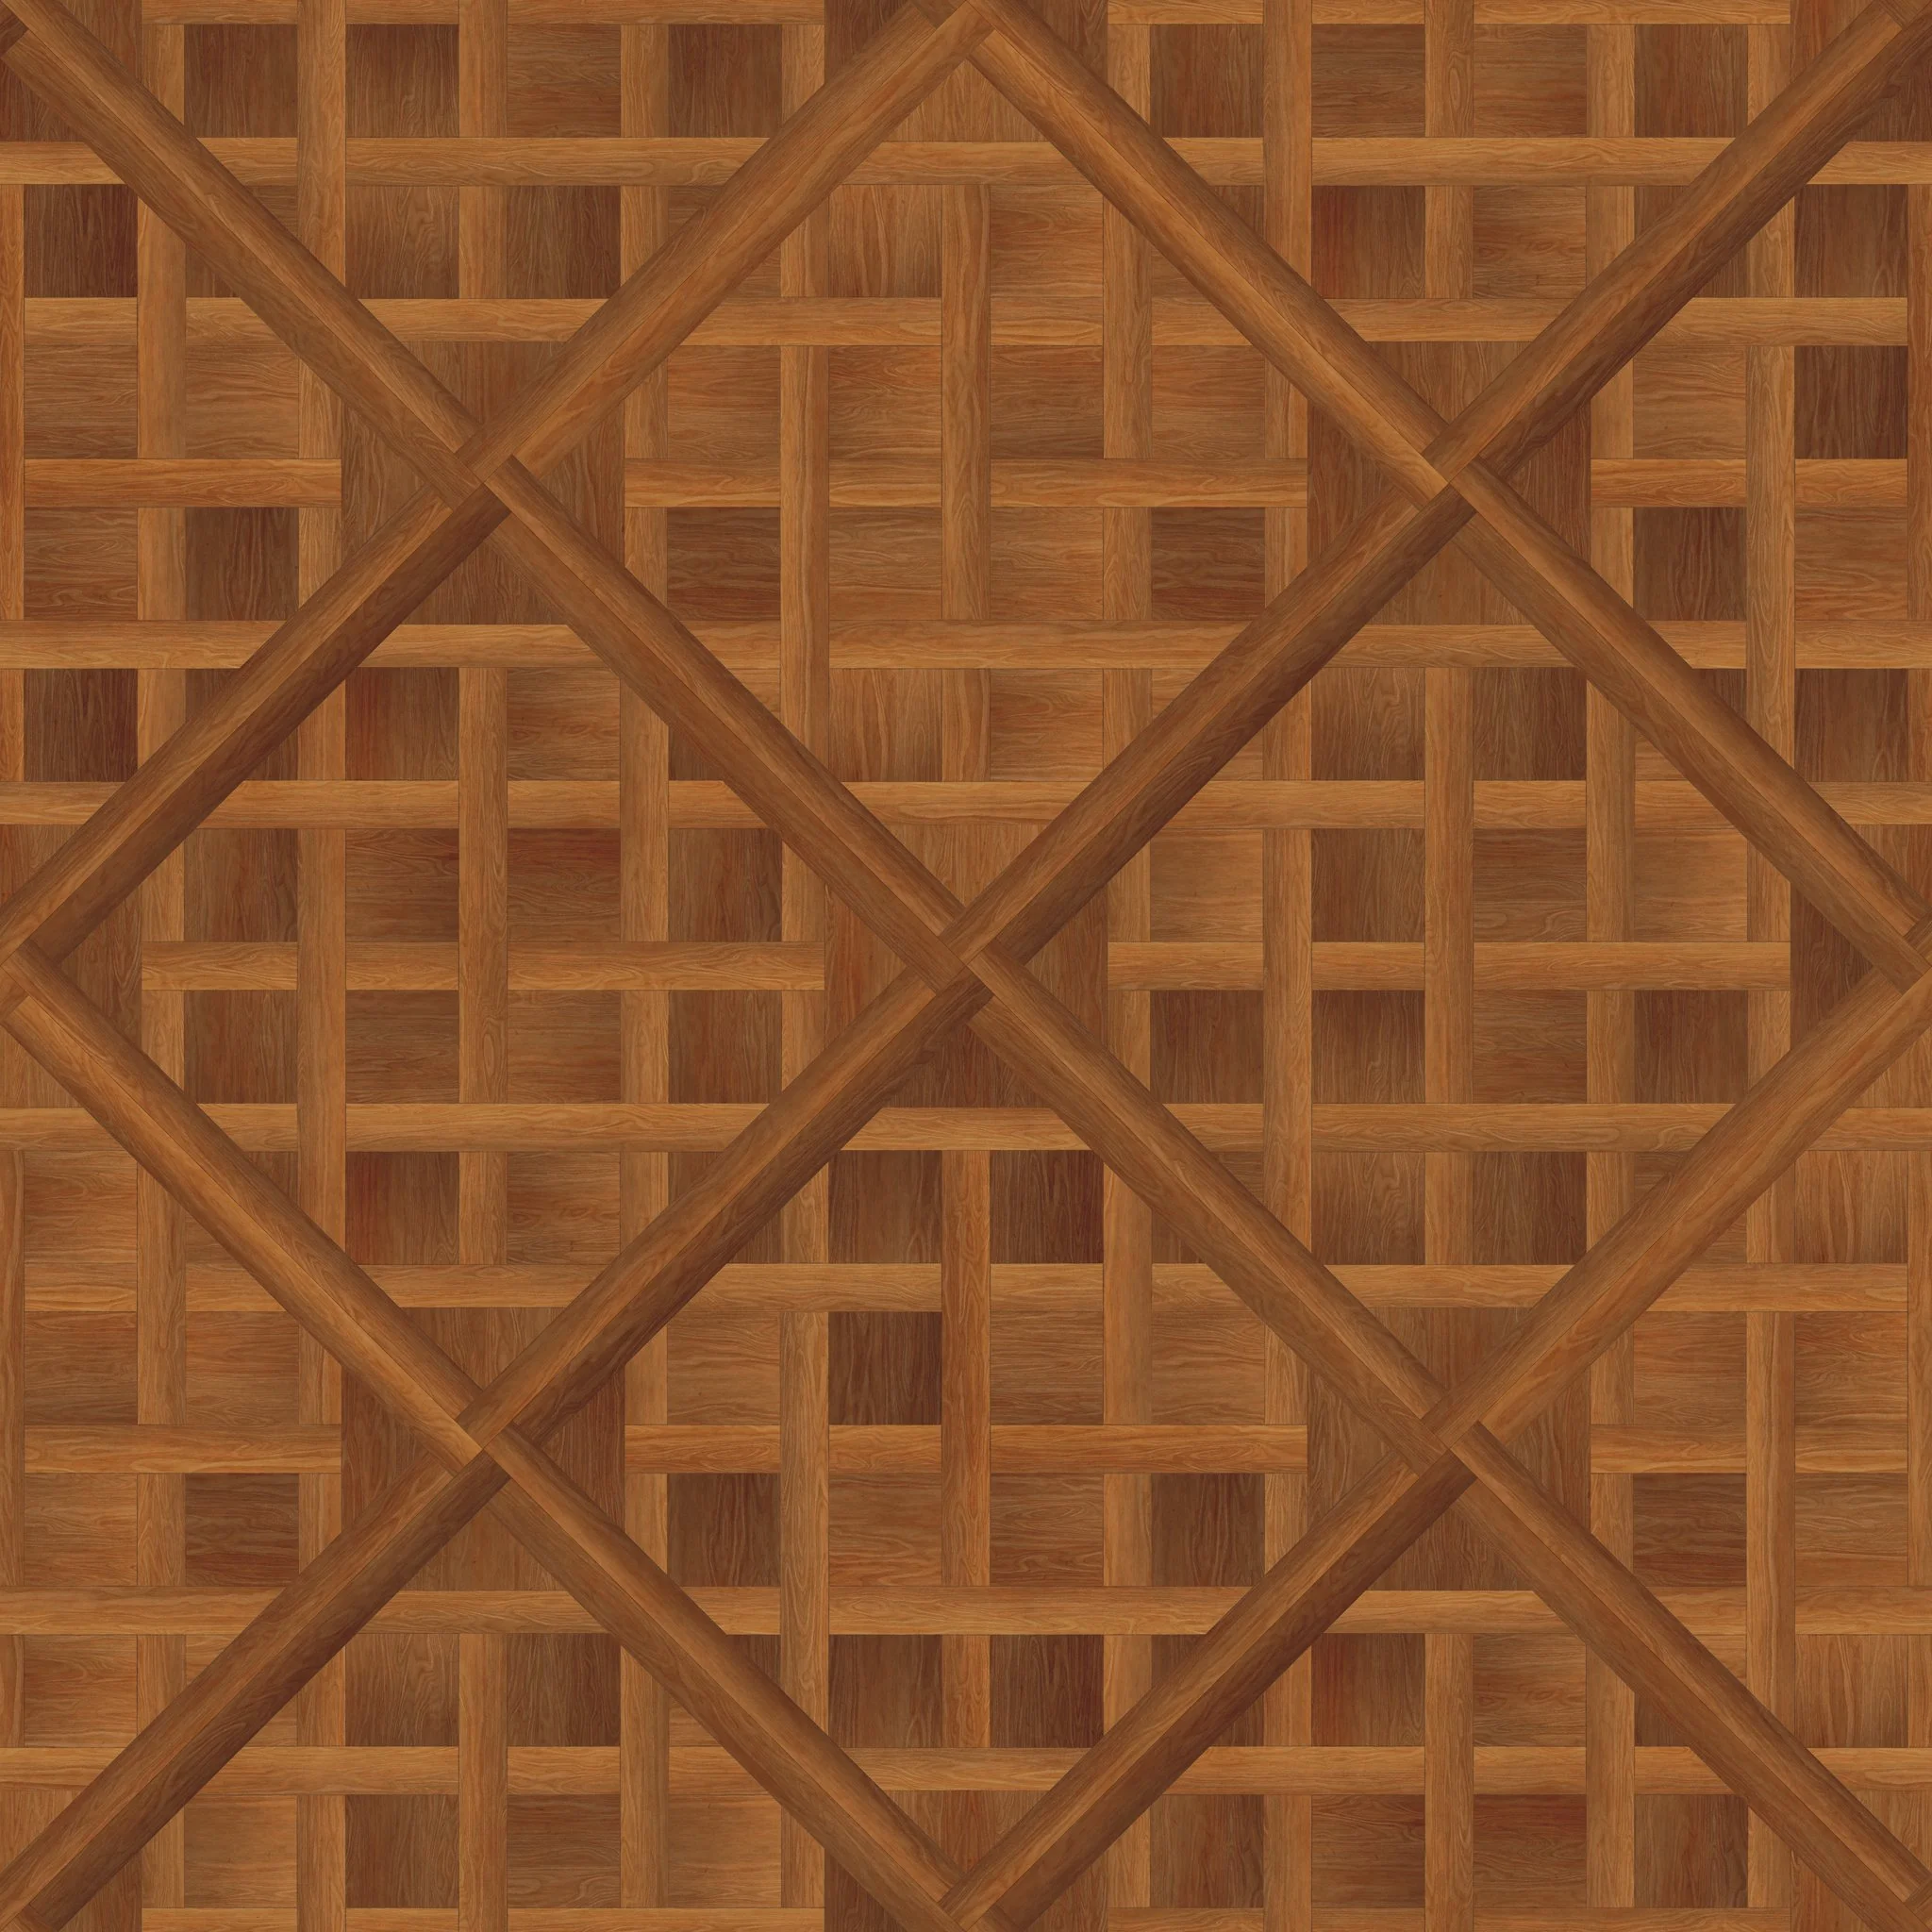
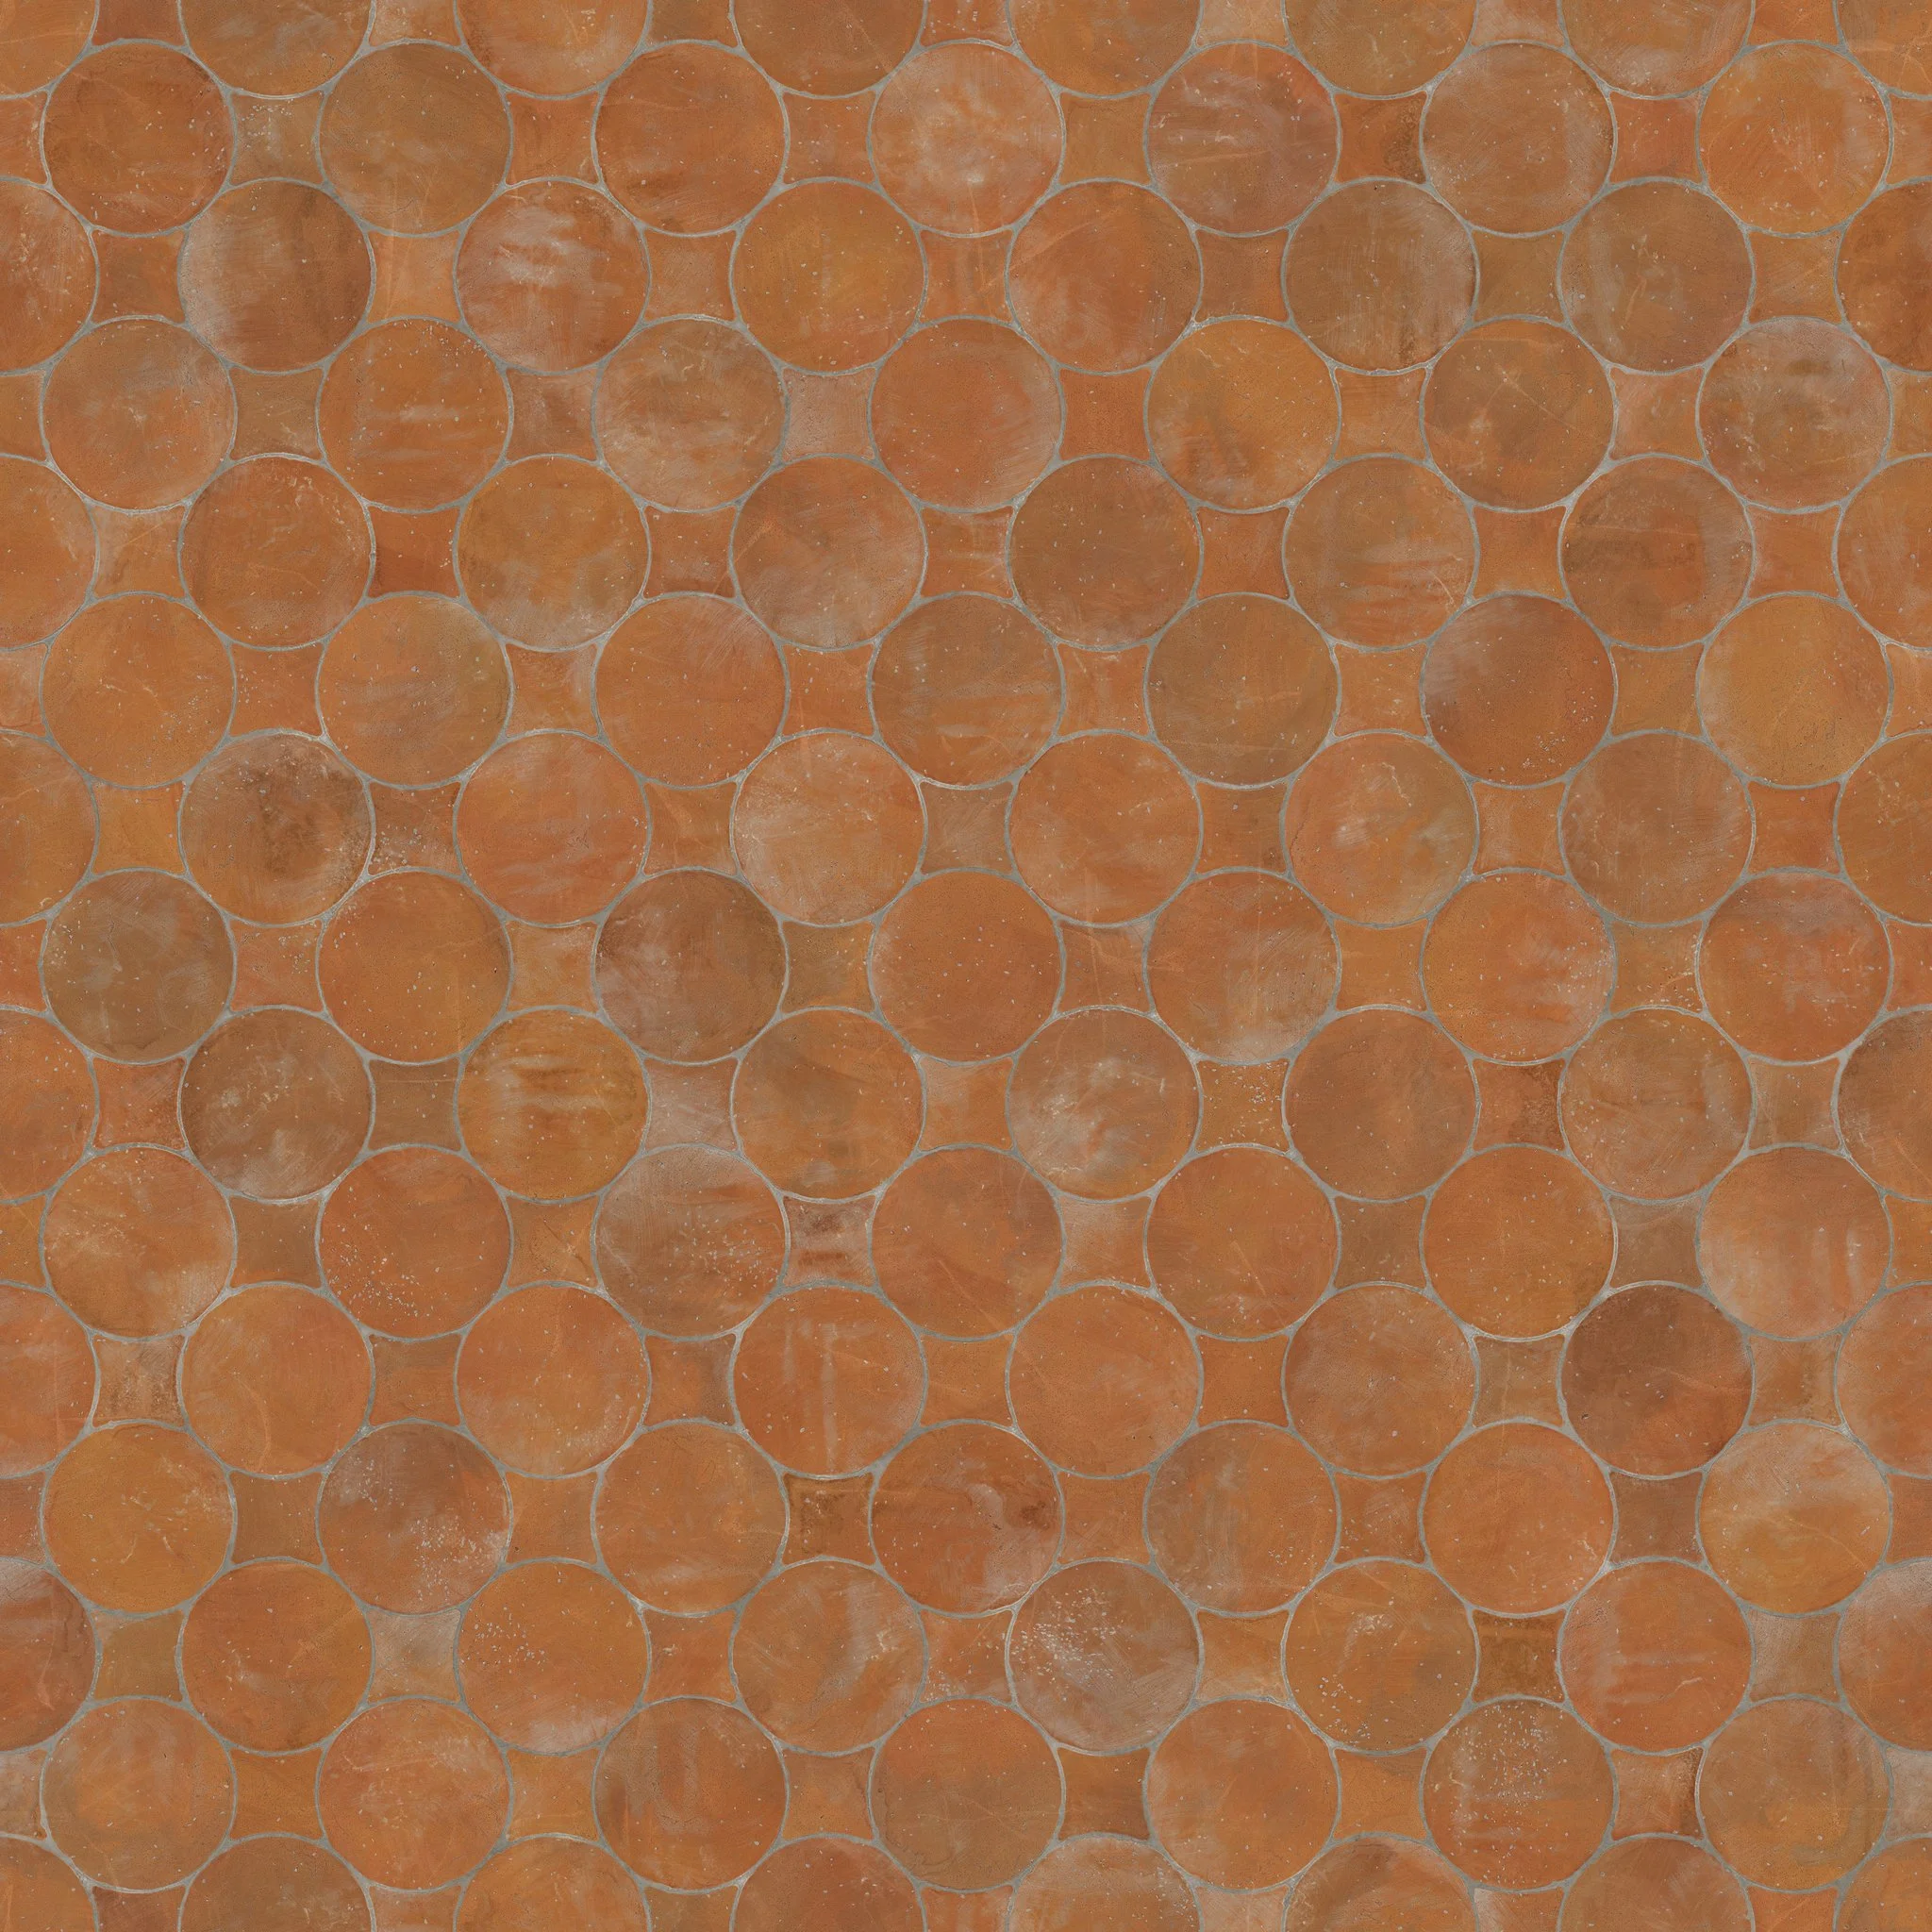
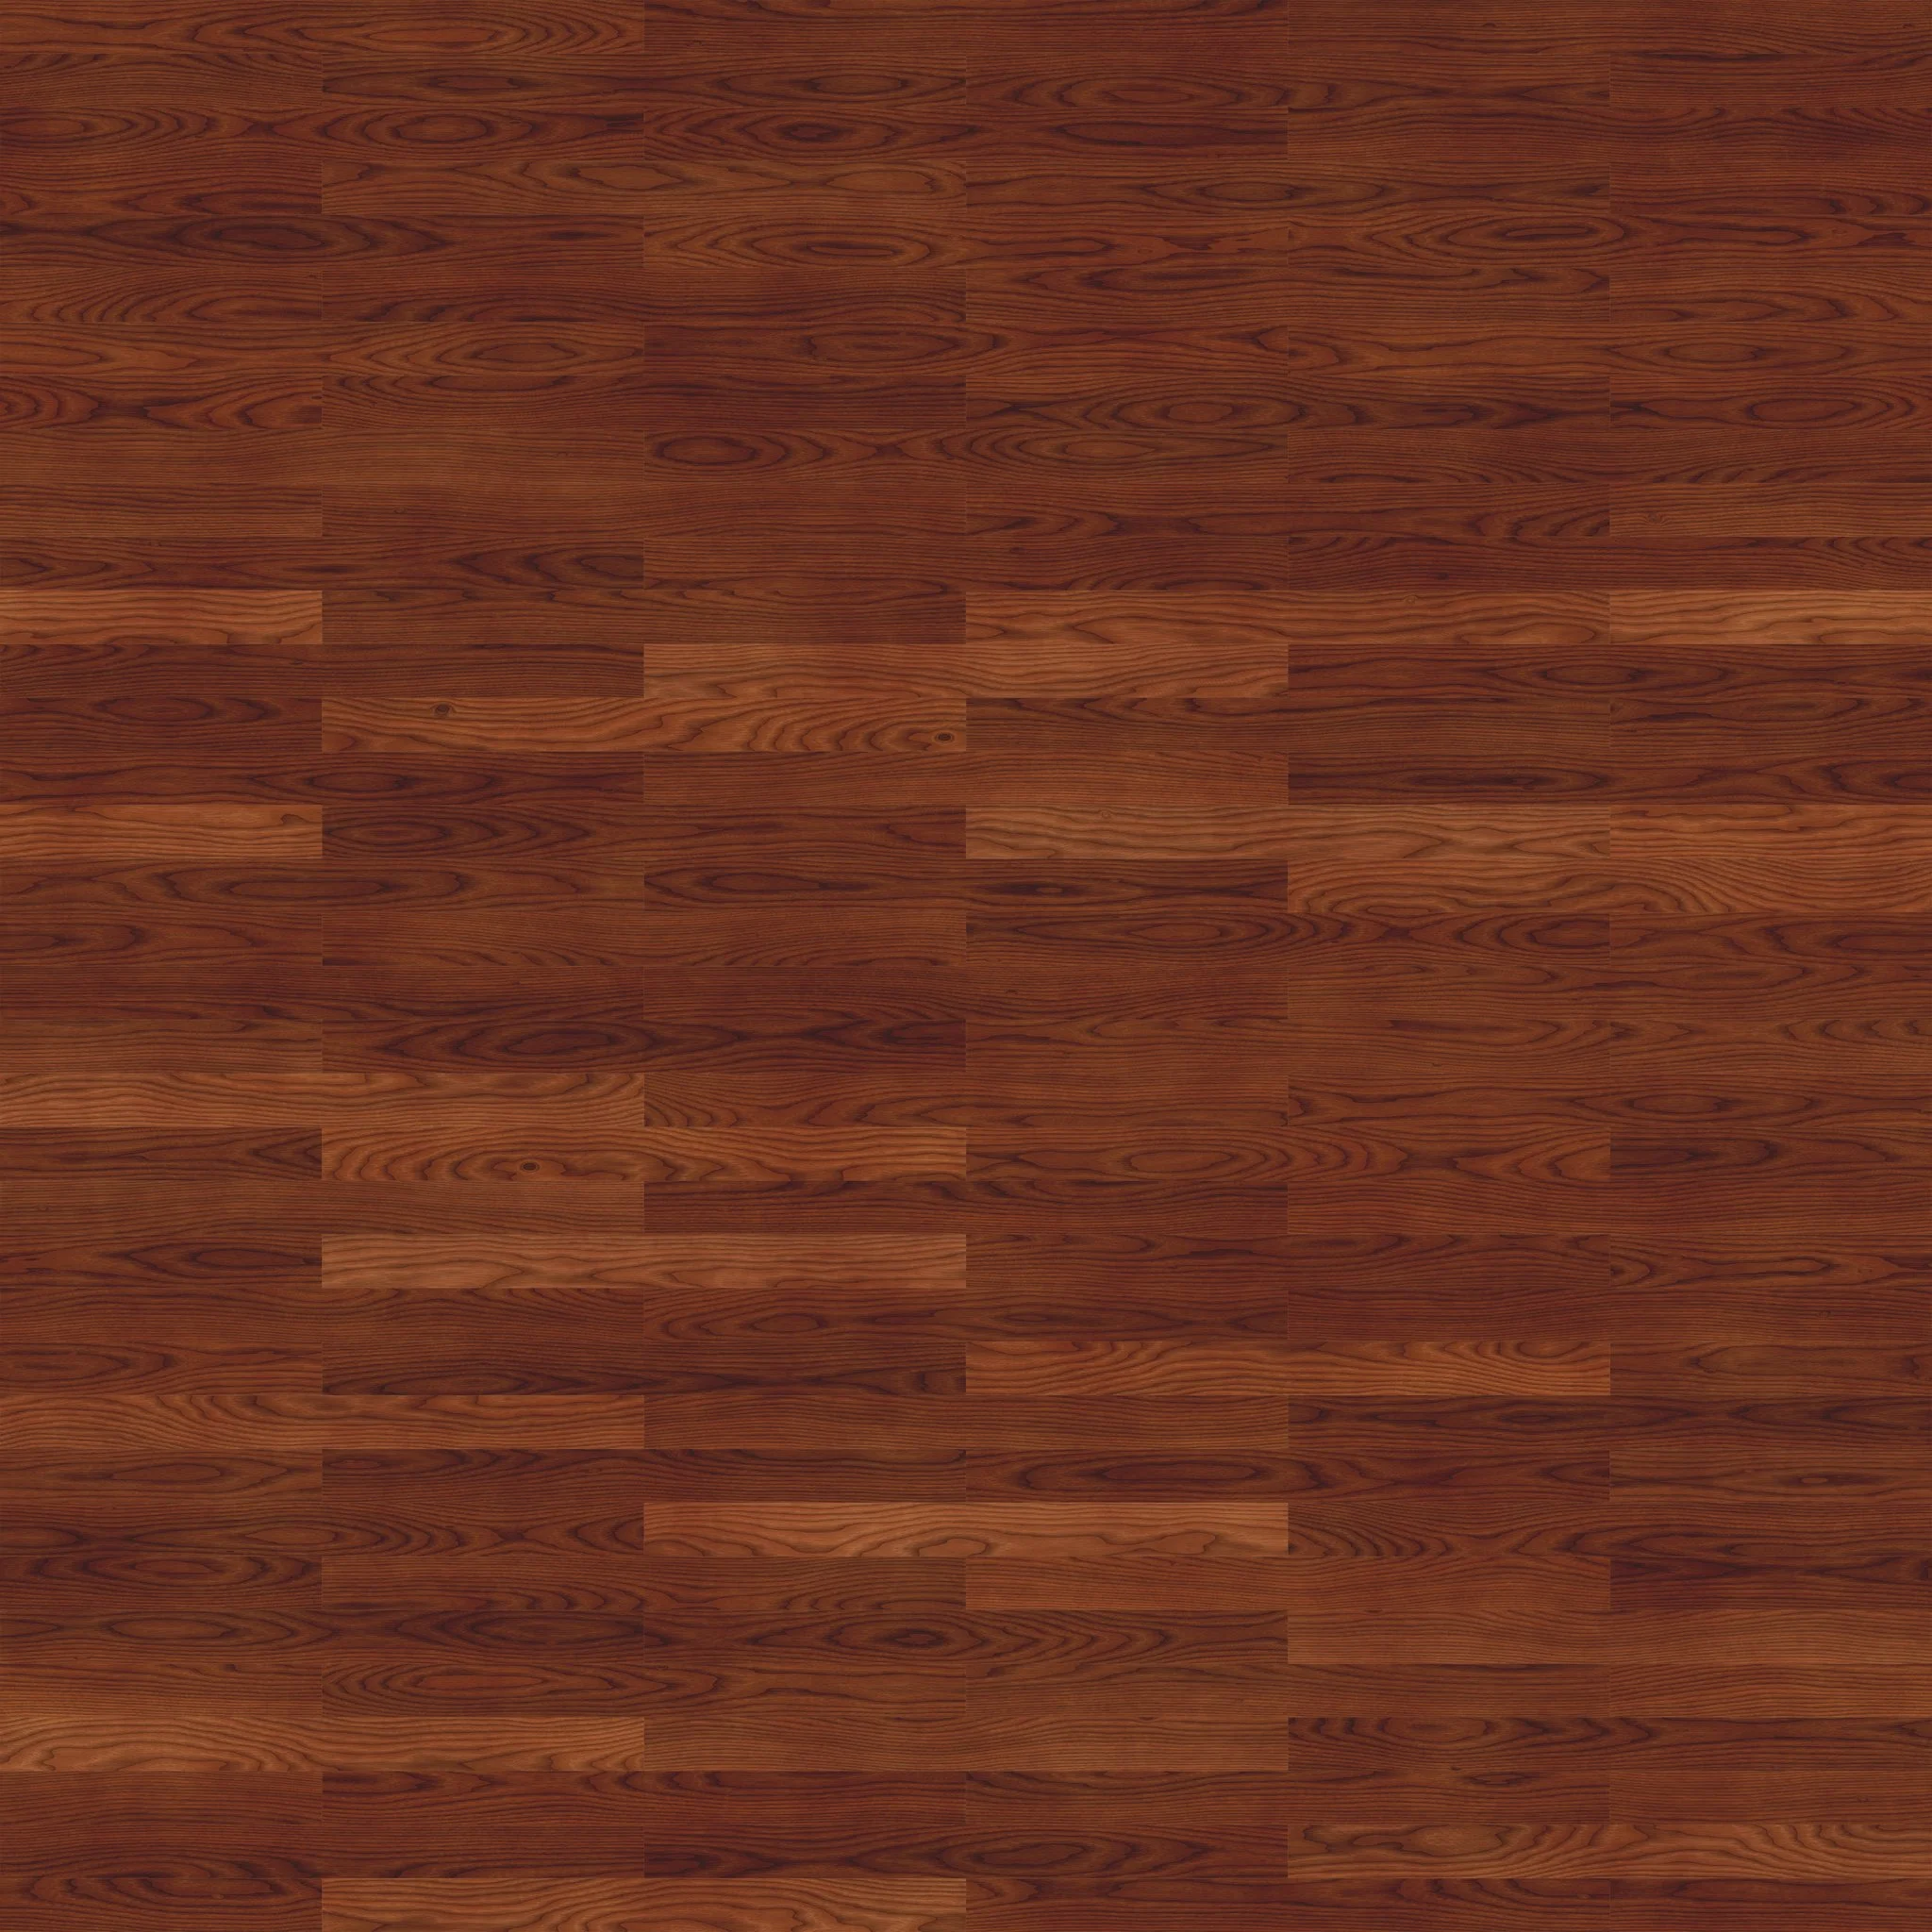
Here are some free tileable images you can download for your templates, including tiles, bricks, and wooden flooring. Click on the pattern you like to open a full-res version in a new window.
Updated April 3, 2025
